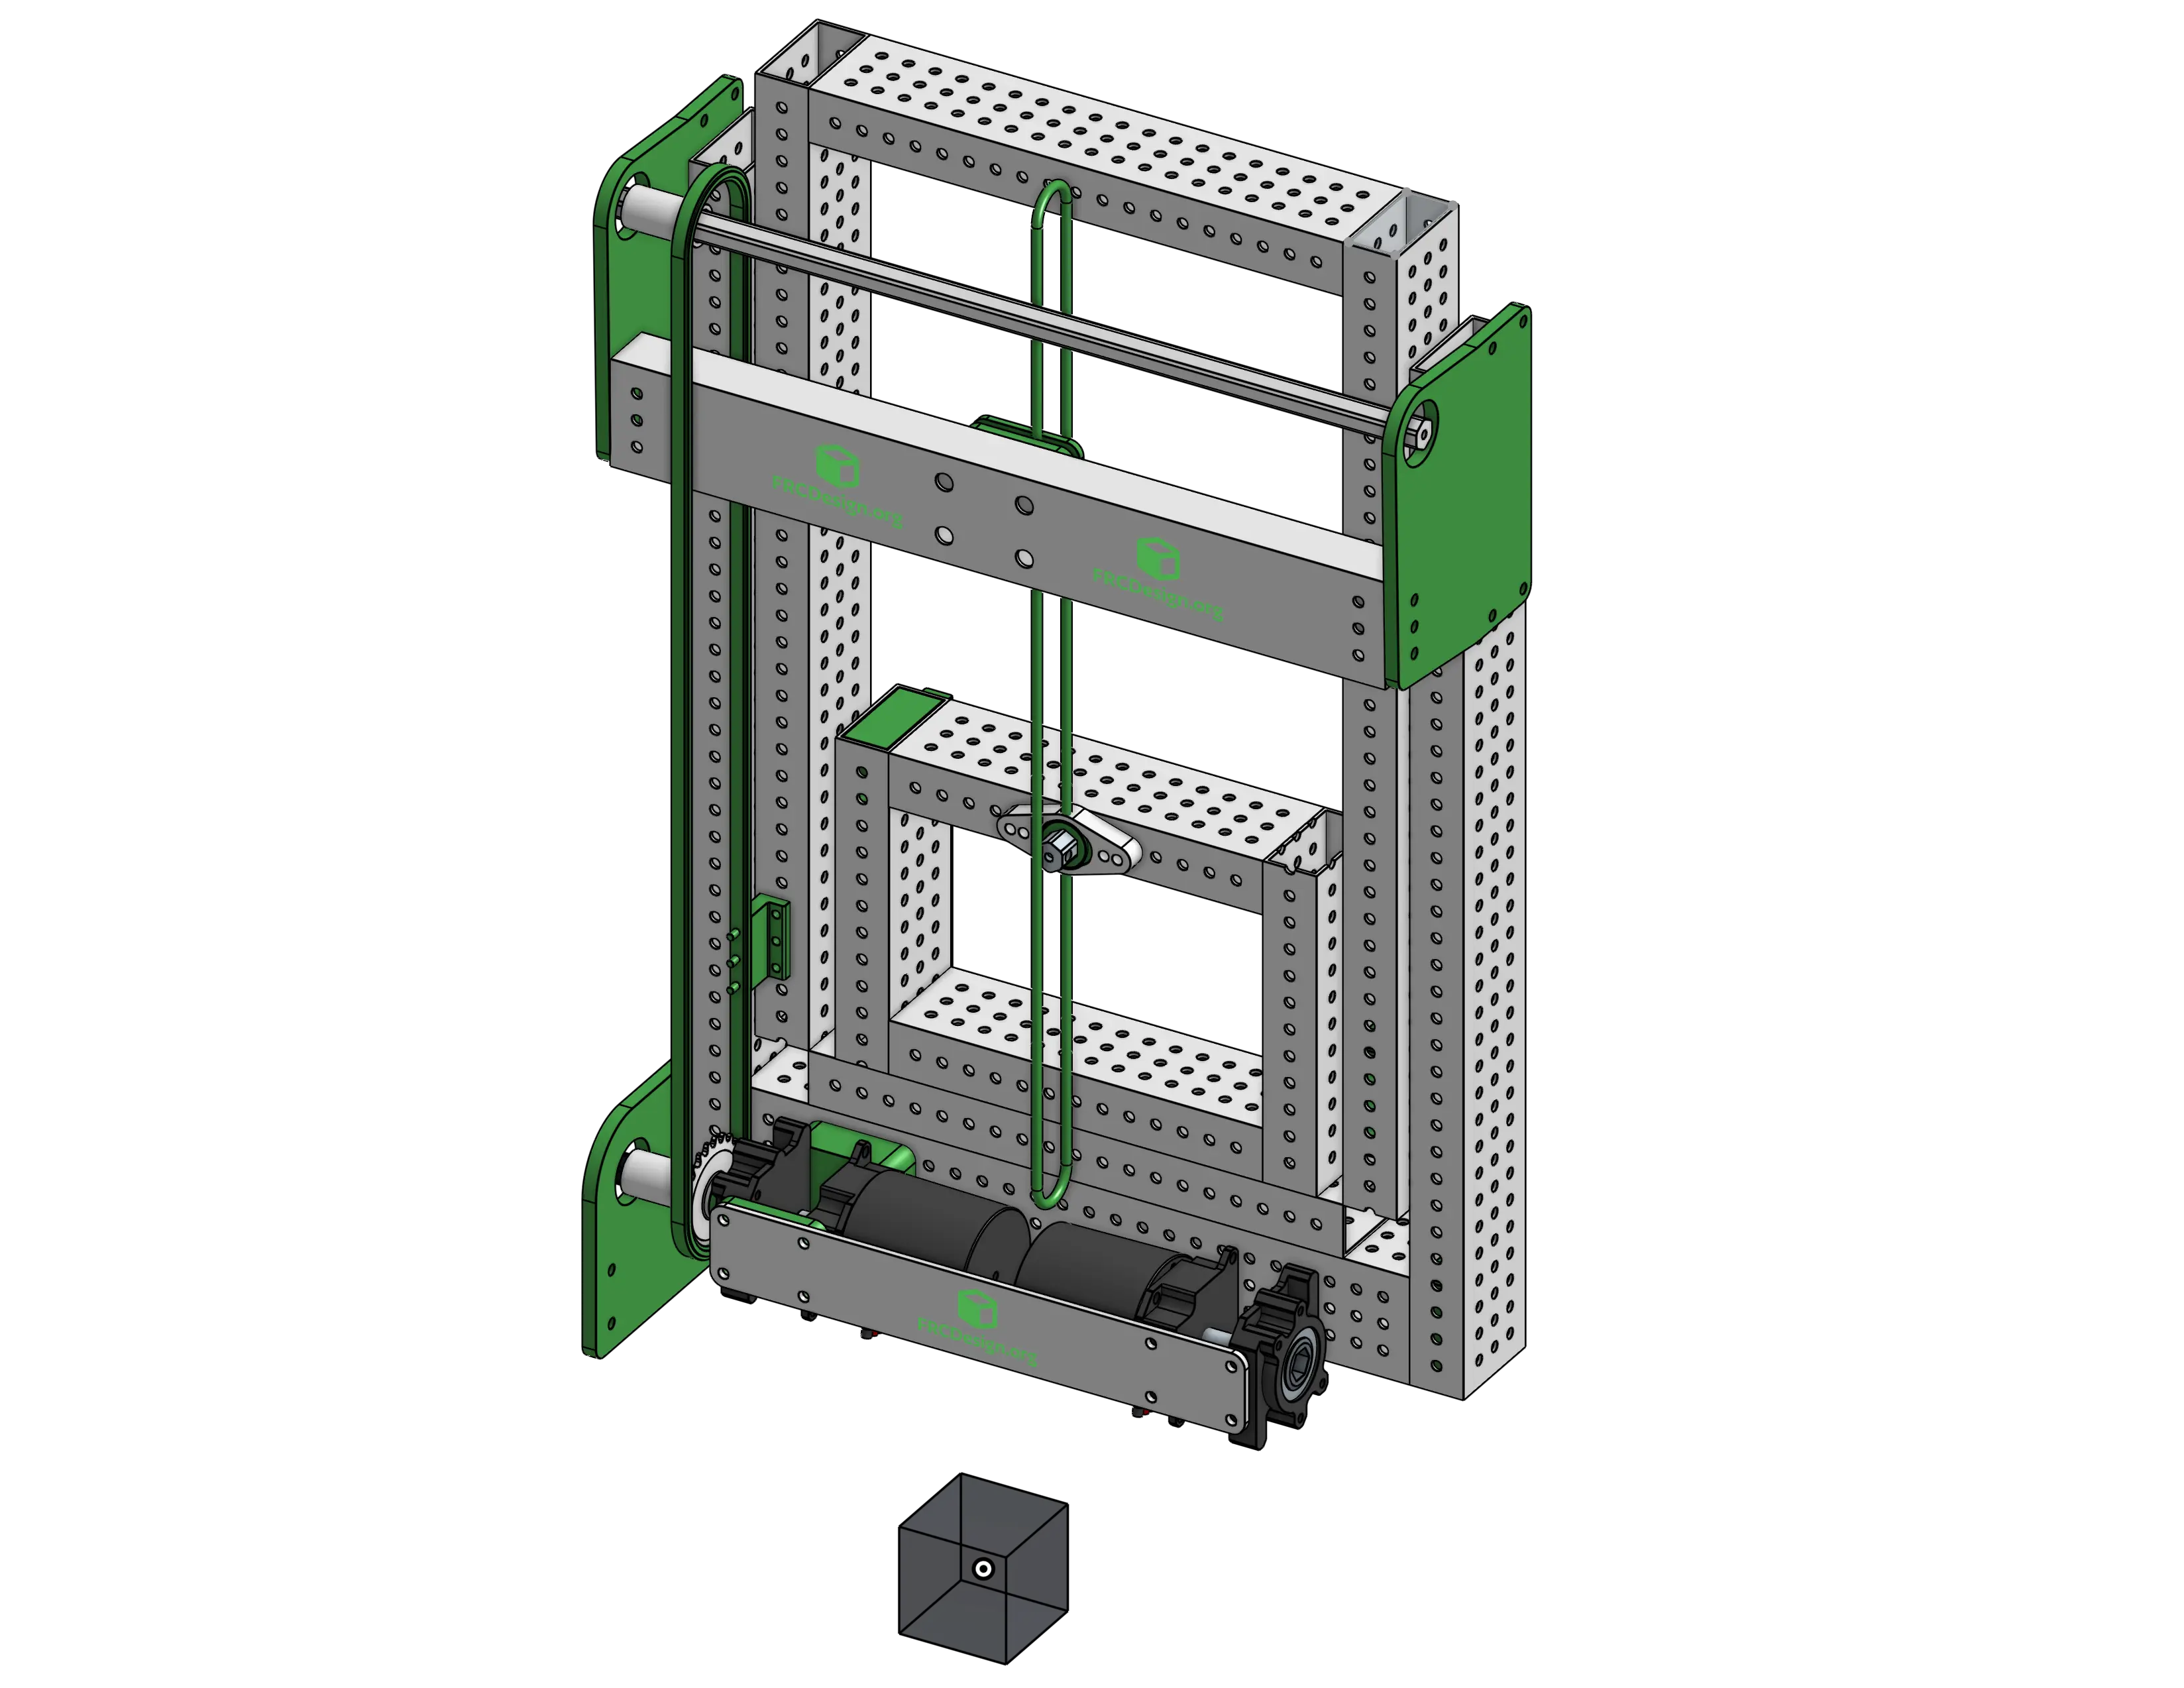
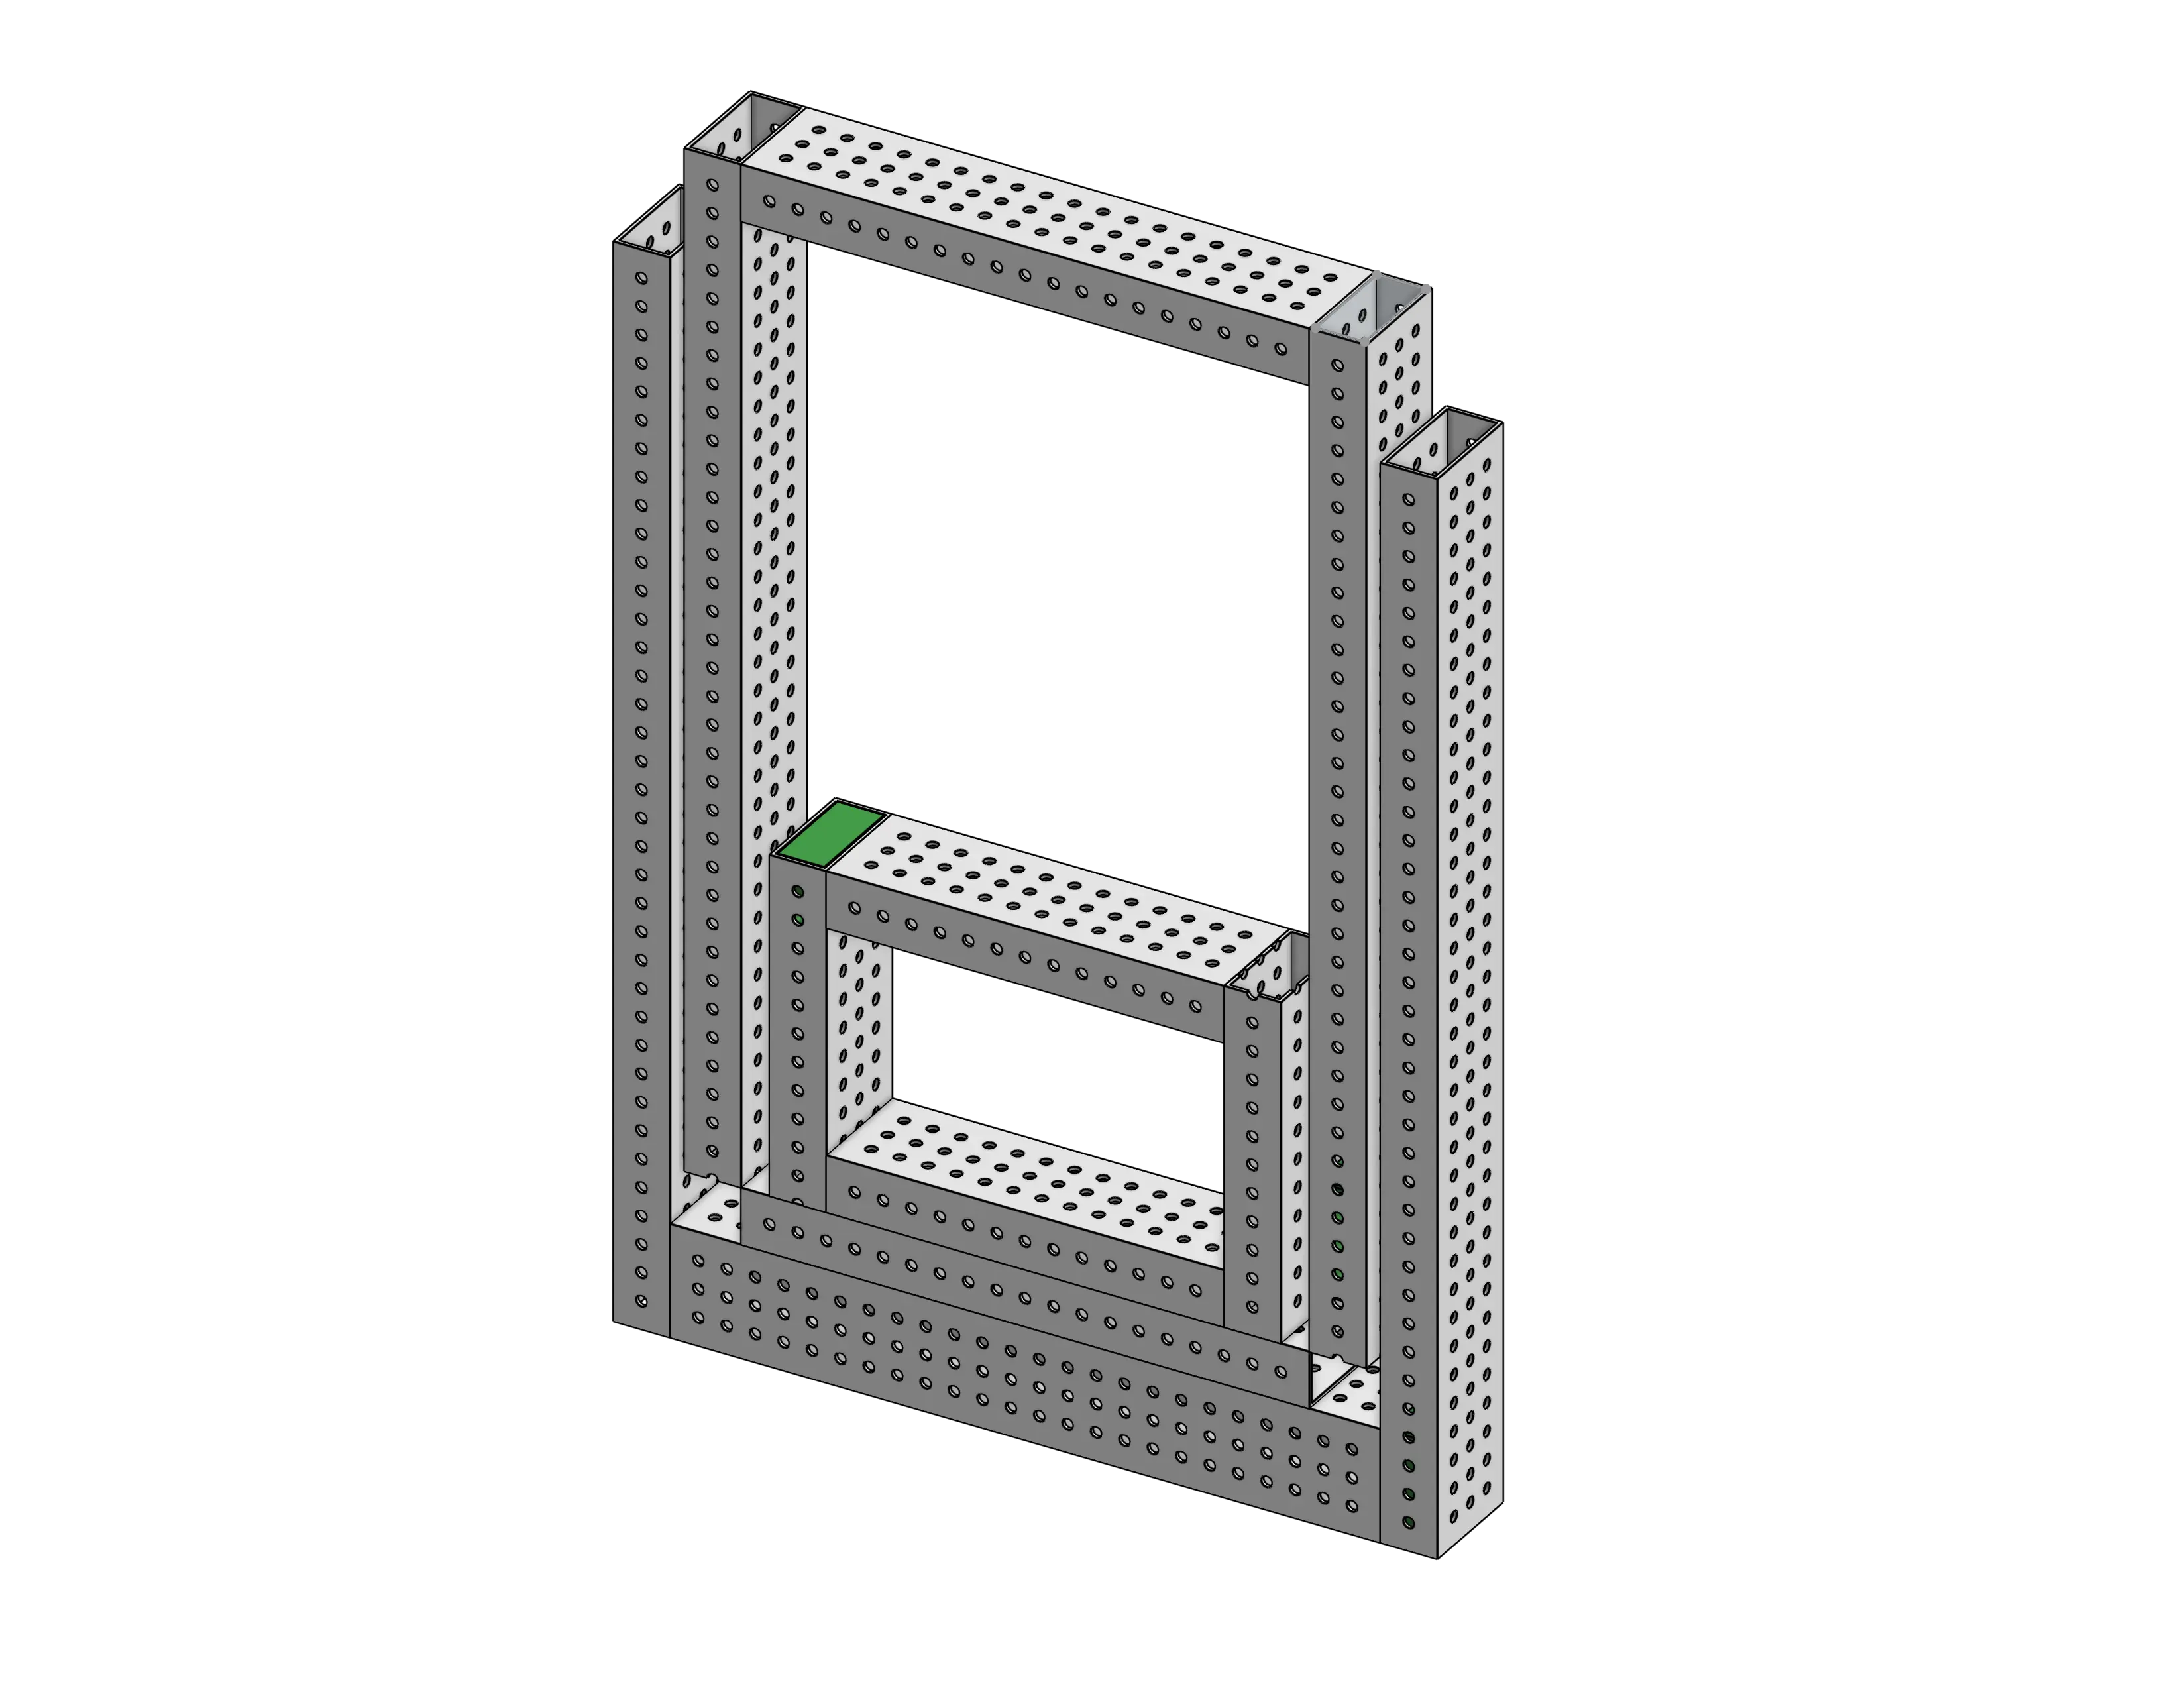
2D: Cascade Elevator
Part Studio
- Add the
Origin Cubefeature and derive the main layout sketches if you made them in a separate part studio. - Use extrude individual to create the tubes (without creating only duplicates; this means only the bottoms of stages on one side).
-
Convert the extrusions into tubes.
Converting Extrusions into Tubes
Tube converter is the easiest way to do this, as demonstrated before, but the hole pattern can break things and be misaligned pretty easily if the dimensions of the elevator end up changing. The most parametric way is to shell the tubes manually, then use a mix of sketches and linear patterns to create the hole pattern. This way you can build design intent into the hole pattern so it won't be misaligned with anything when dimensions change.
To create parametric hole patterns, you can start by using the Measure Value featurescript from CADSHARP to measure the length of the tube. You create your first hole at the top of the tube, then create a feature pattern or sketch pattern down the length of the tube with the distance of 0.5" and the instance count set to
((#frame_side_tube/inch)*2)-1. This method keeps the hole count parametric to the length of the tube. -
Transform and copy the tubes to complete the structure.
Tip
At this point, as design lead, you could create mate connectors, subassemblies, and top level assembly, and hand off the elevator to other people to parallelize the process if that's how your team works.
-
Model any unique crushblocks
Info
Crushblocks and tube plugs are commonly used for most superstructures and elevators nowadays. Find out what they are and why they're useful on the design handbook page about structure.
-
Decide where you want your rigging (rope) and model it with a path, profile, and sweep.
- Derive the TTB chain comb into place on a first stage tube. This is for knowing how much to space the chain off from the tubes.
- Sketch the chain transmission and crossmember, including the bearing holes for the sprockets.
- Create the plates and tube for the crossmember. The clamp for the rigging will be mounted to the crossmember, but it's also for the rigidity of the base stage.
- Derive the TTB cable clamp into place on the crossmember and create mounting holes for it, and a crushblock if bolting all the way through the tube.
- Add holes for the tube plugs on the crossmember.
- Create the chain transmission, including the chain, any custom spacers, and axles
- Derive some maxplanetary parts to build the gearbox around. Create spacers and mounting for both maxplanetaries. Make sure to leave them easily accessible and replaceable
- Add plates at the bottom of the elevator to support the MAXplanetary shafts.
- Optionally, derive nut strips and a ratchet plate for the carriage and create the shaft for the rigging to be tied to.
- Create a reference mate in the middle of the base tube, owned by the origin cube, to later mate the subassemblies together with.

