2D: Cascade Elevator
Assembly
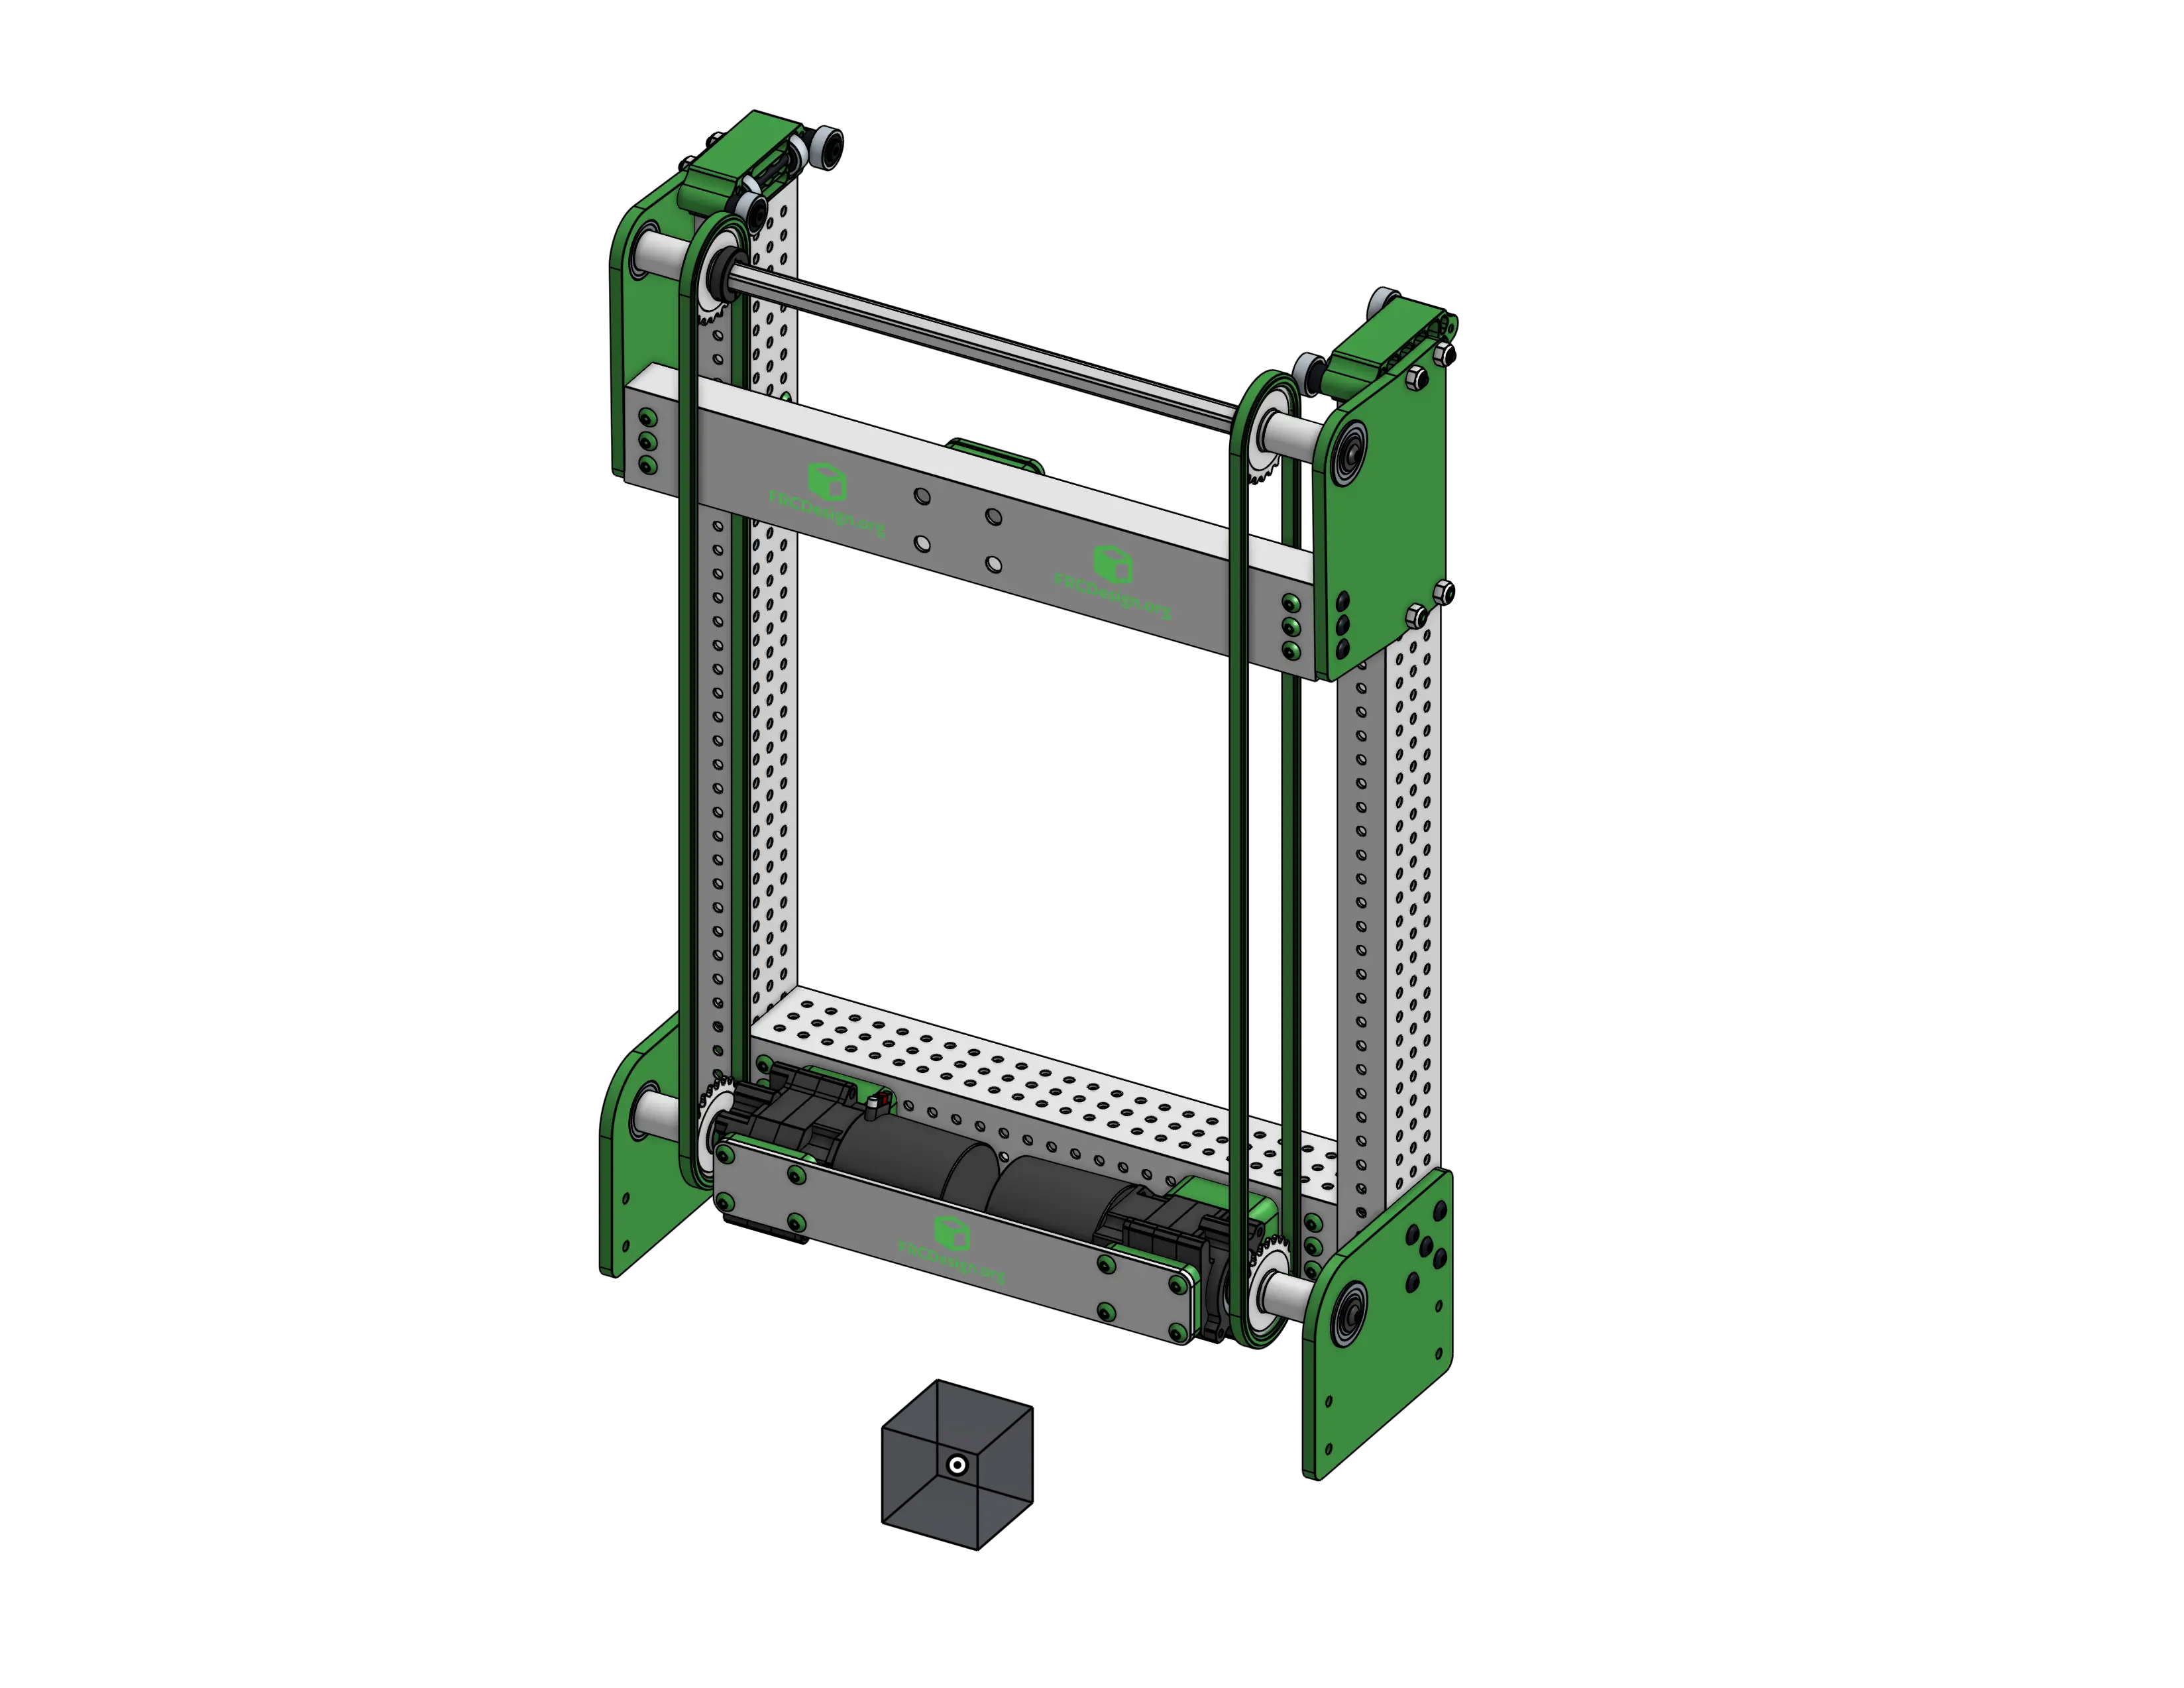
Because this subsystem has multiple moving parts, just like the dead axle pivot and slapdown intake, separate rigid subassemblies should be created for each stage.
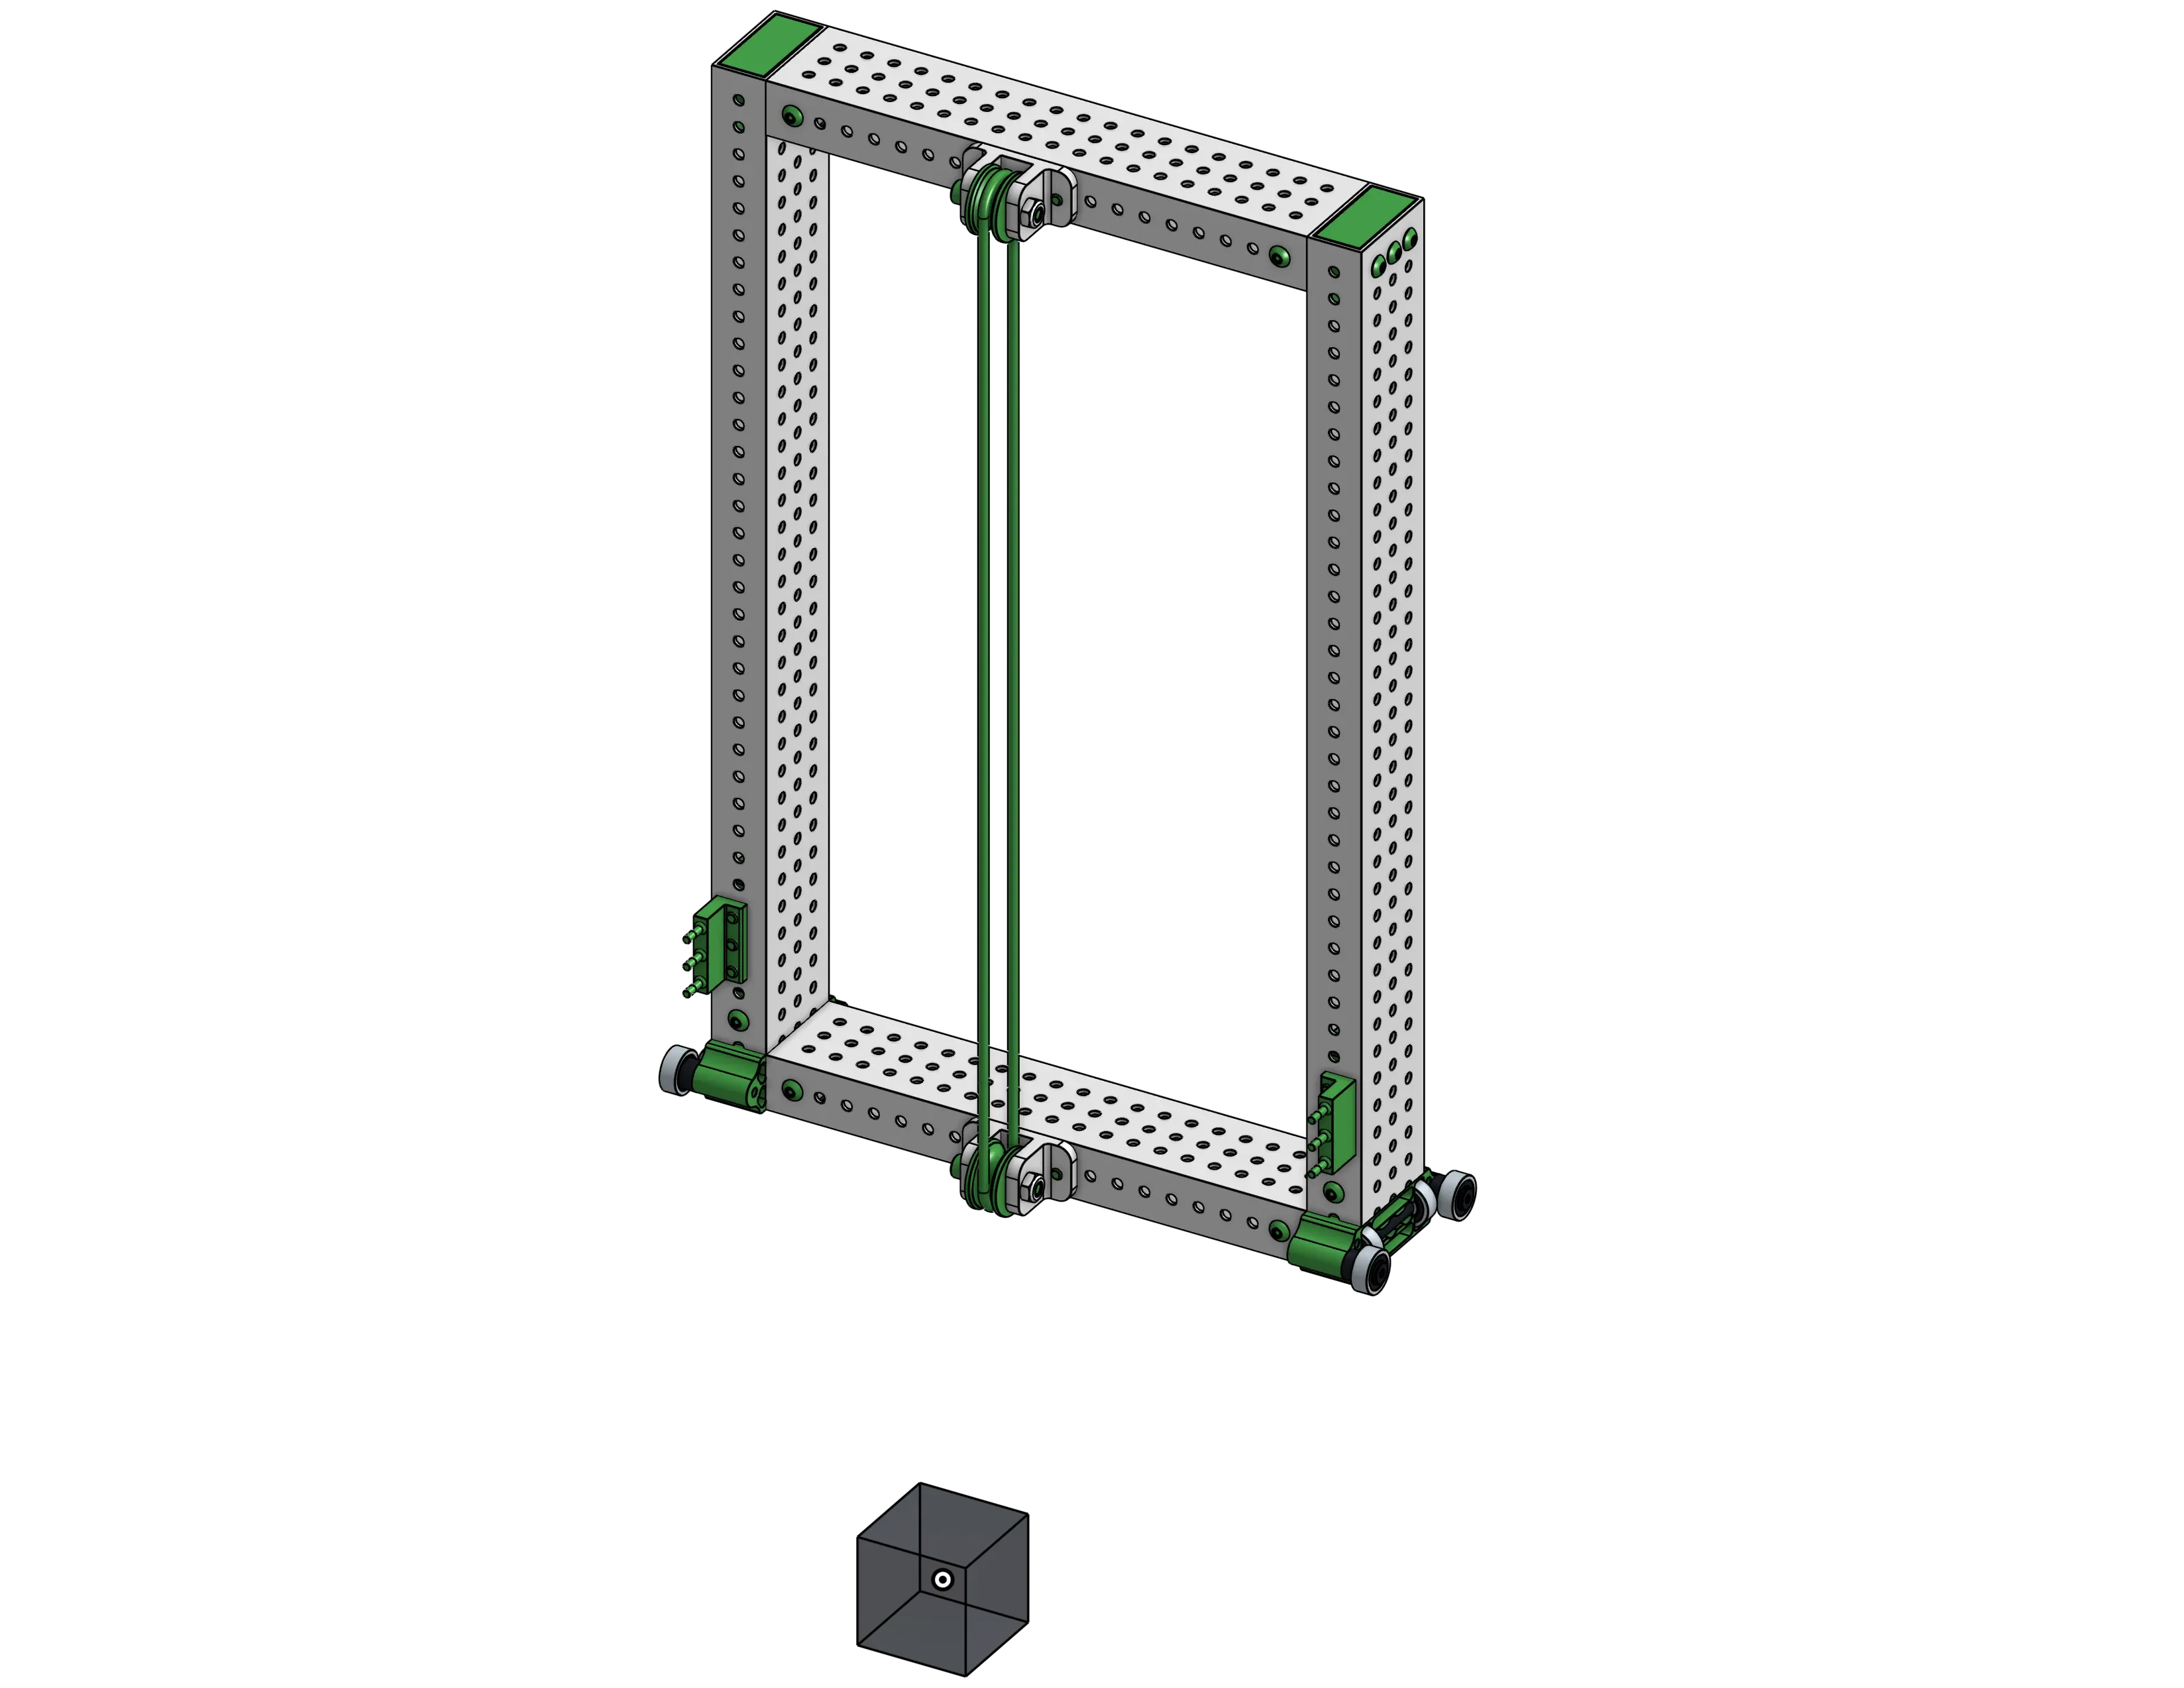
Base Stage Assembly
Create an assembly for the static parts and follow the typical process for inserting them and creating a rigid body (origin cube, group, fasten to origin). Add the rest of the parts by duplicating existing parts, MKCAD, and standard content, using replicate and patterns when you can.

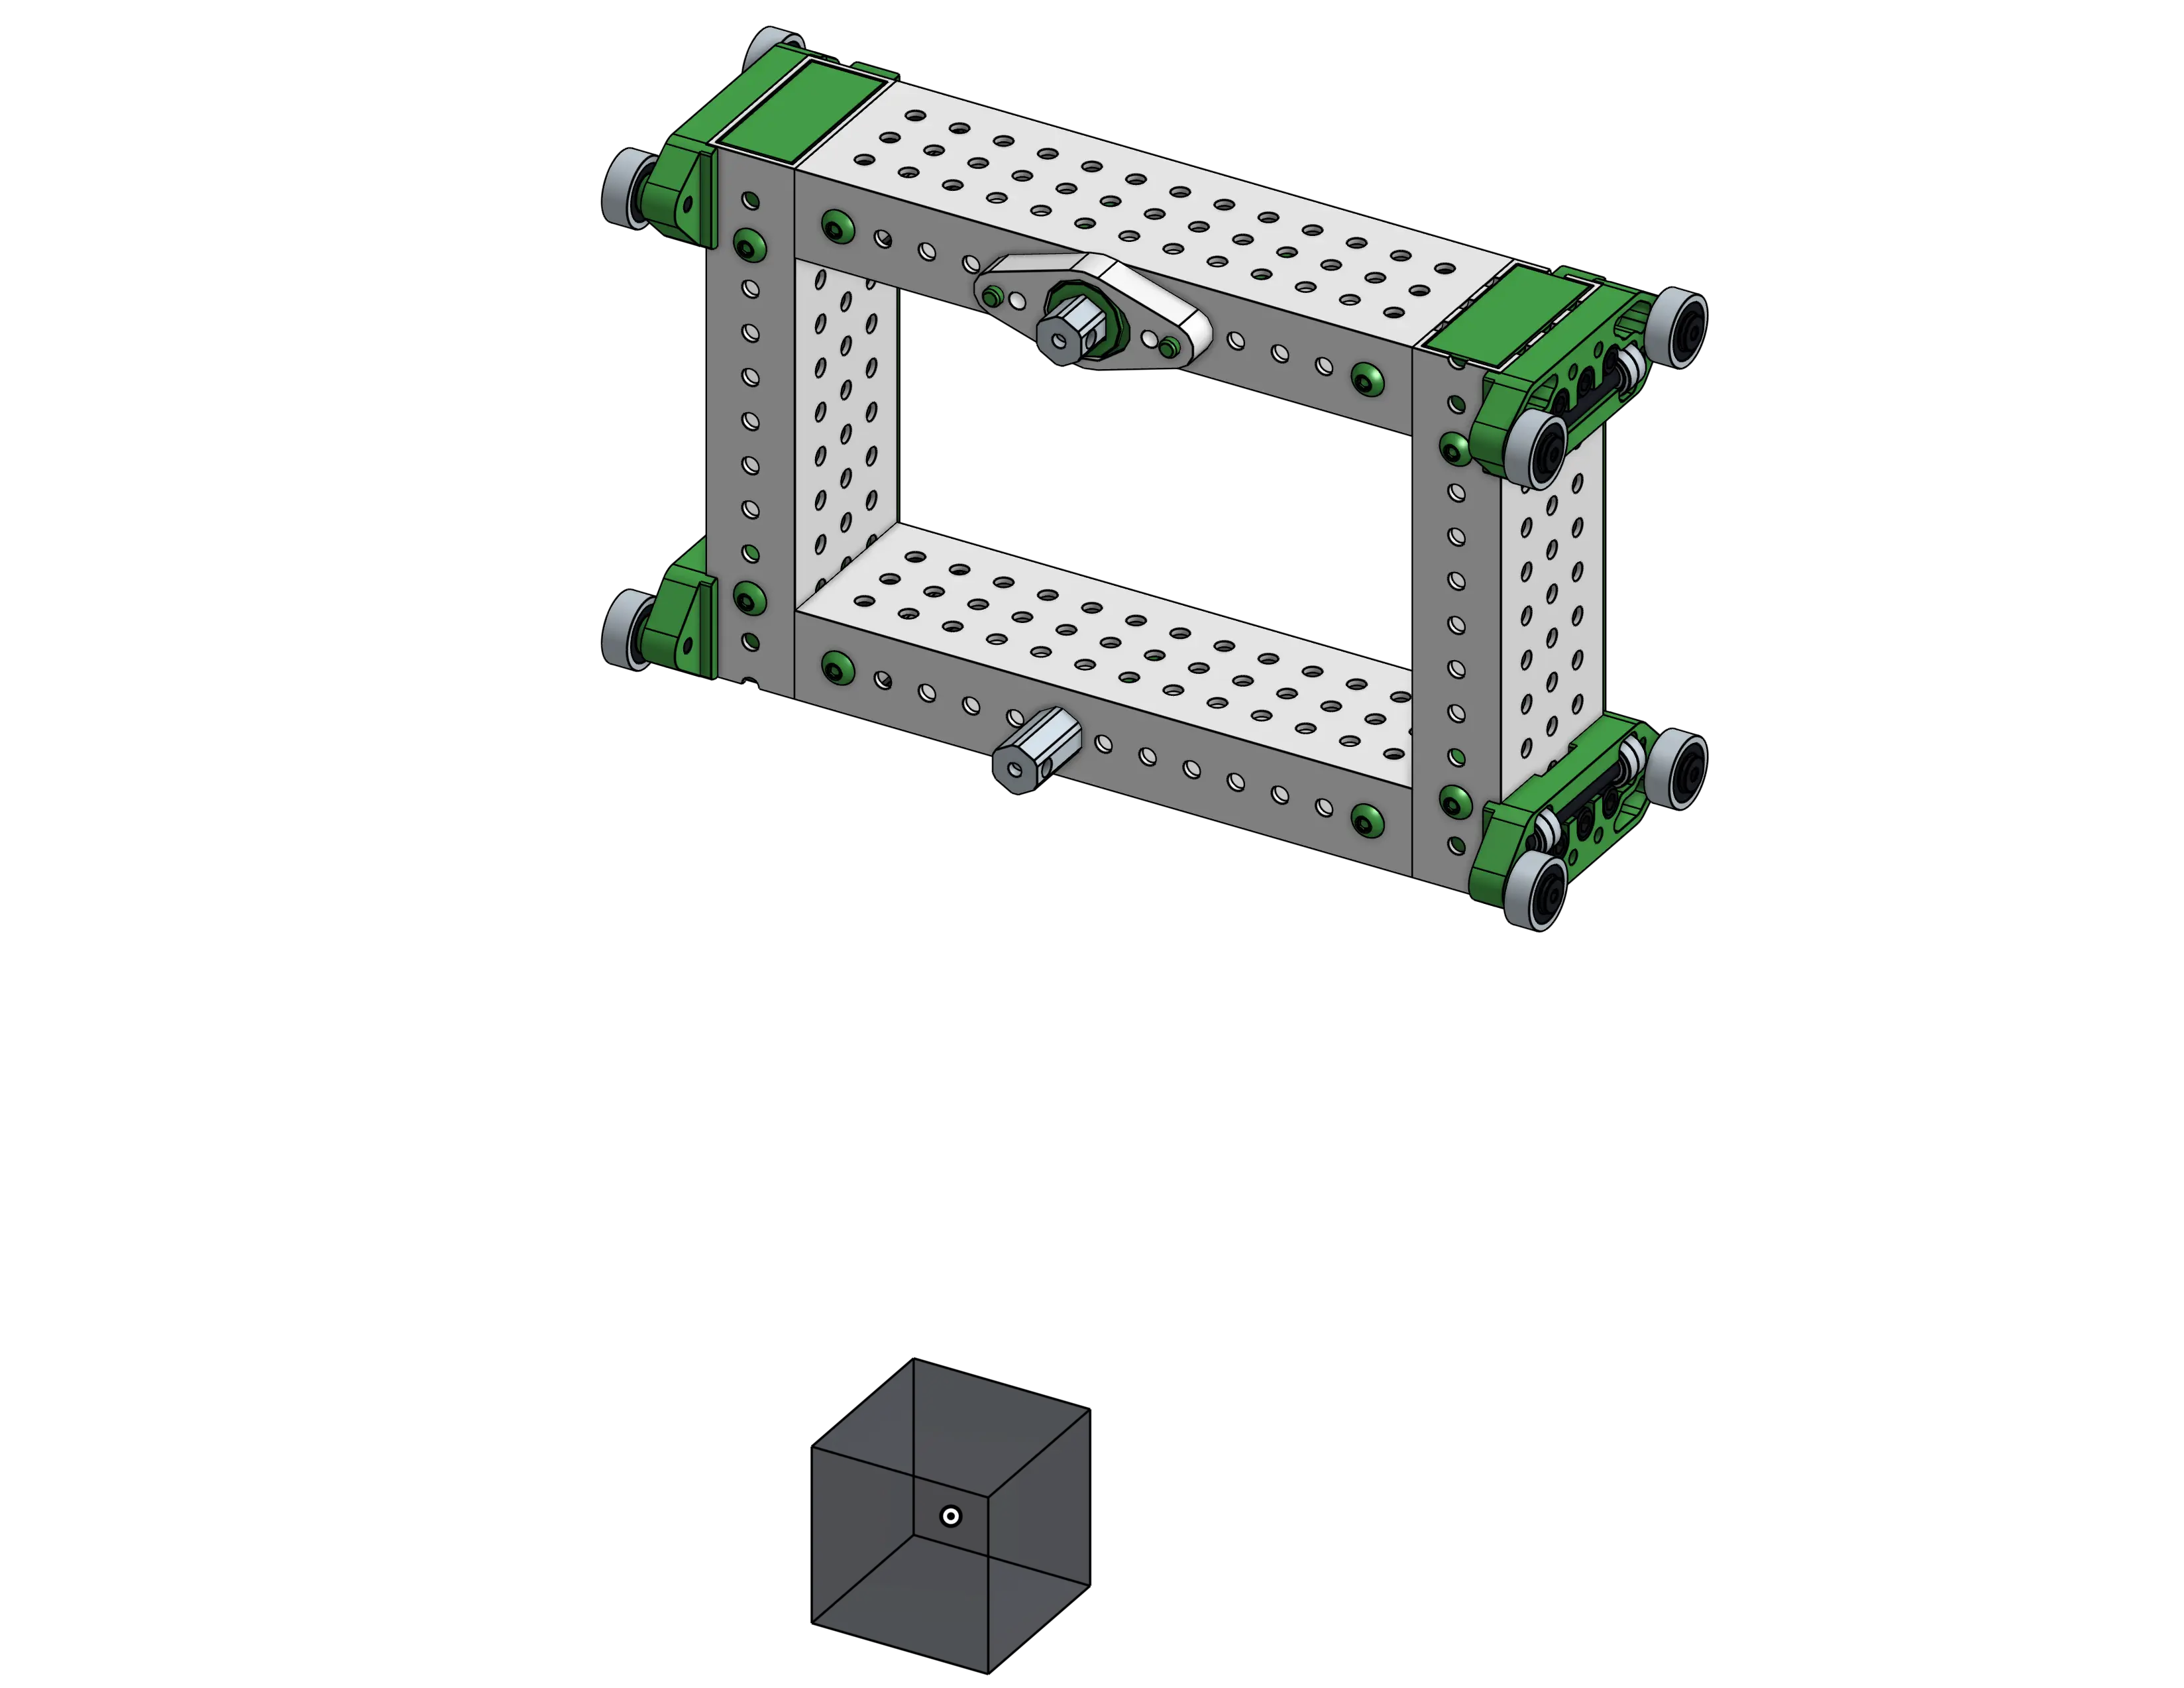
First Stage Assembly
Do the same thing for the first stage subassembly.

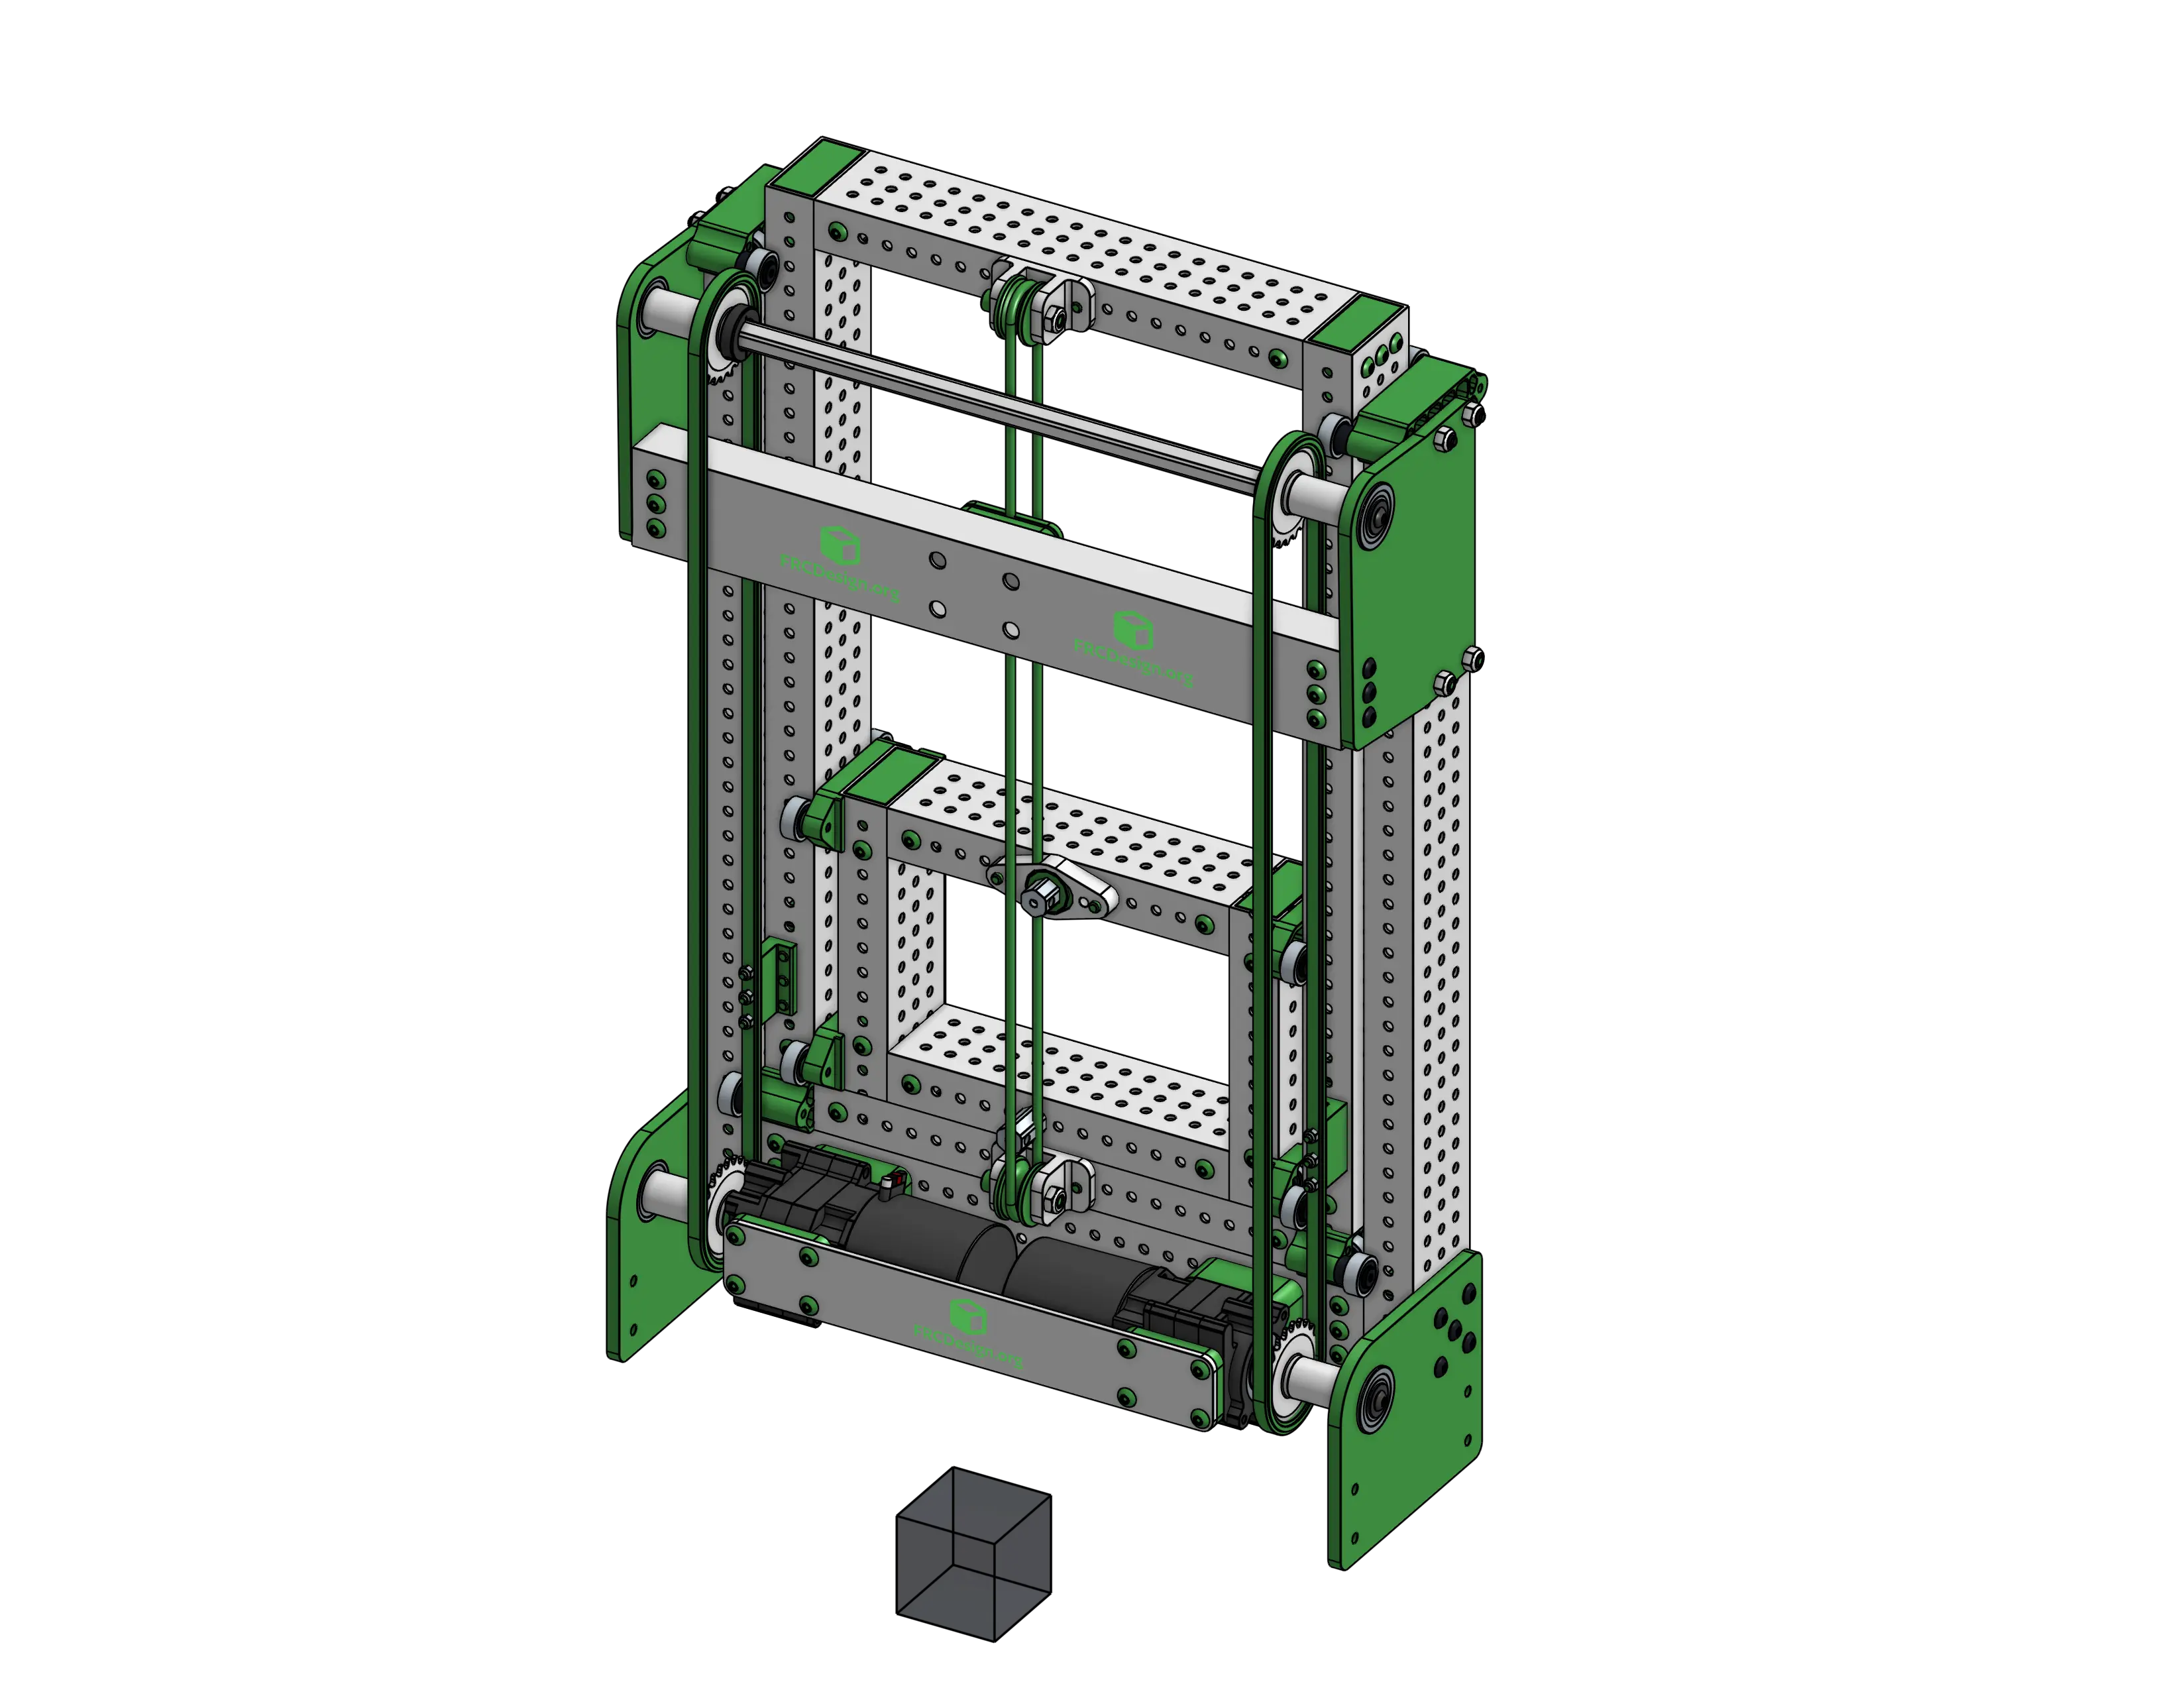
Carriage Assembly
And finally the carriage subassembly.

Top Level Assembly
Now create the top level assembly, insert the subassemblies (fasten the origin cube of the static assembly to the origin), and use the reference mates on the origin cubes from the separate subassemblies to create slider mates with limits to define the motion of the elevator.

Because it's a cascade elevator, you can use the "Linear Relation" assembly tool between the two slider mates with a ratio of 1 to link the motion of the stages together in the same way it would be in real life.