1A: Onshape Fundamentals - Section 1
Drivetrains
Drivetrains are pretty important — they let the robot move. They're usually built out of box tube and have to be strong enough to survive to not explode when running into things.
Check out the video below to see a drivetrain in action. Spot where box tube is used.
Exercise 2: Adding Cross Rails
In the document you copied previously, navigate to the part studio for Exercise 2.
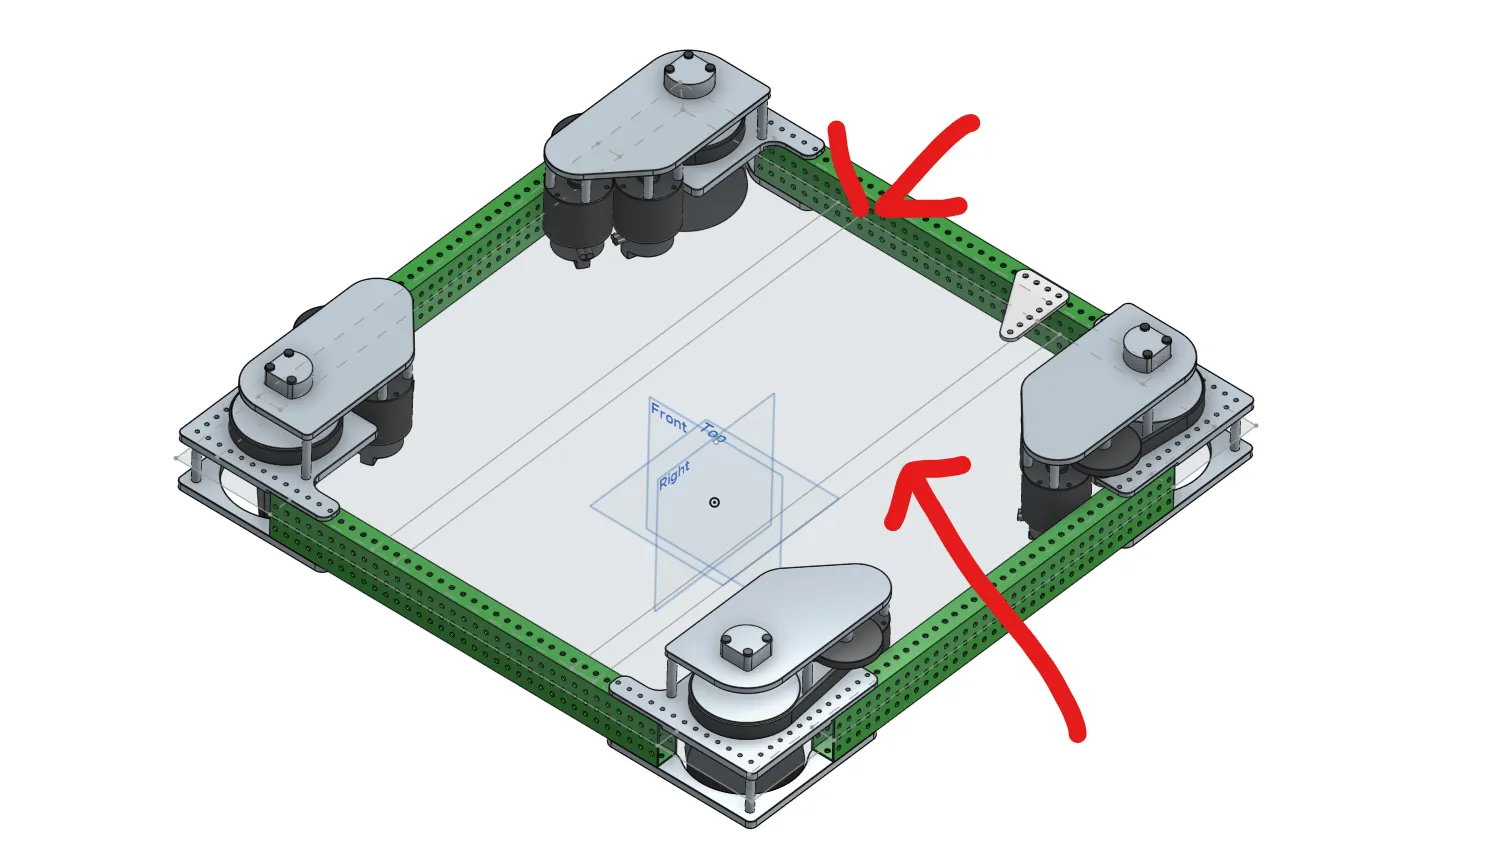
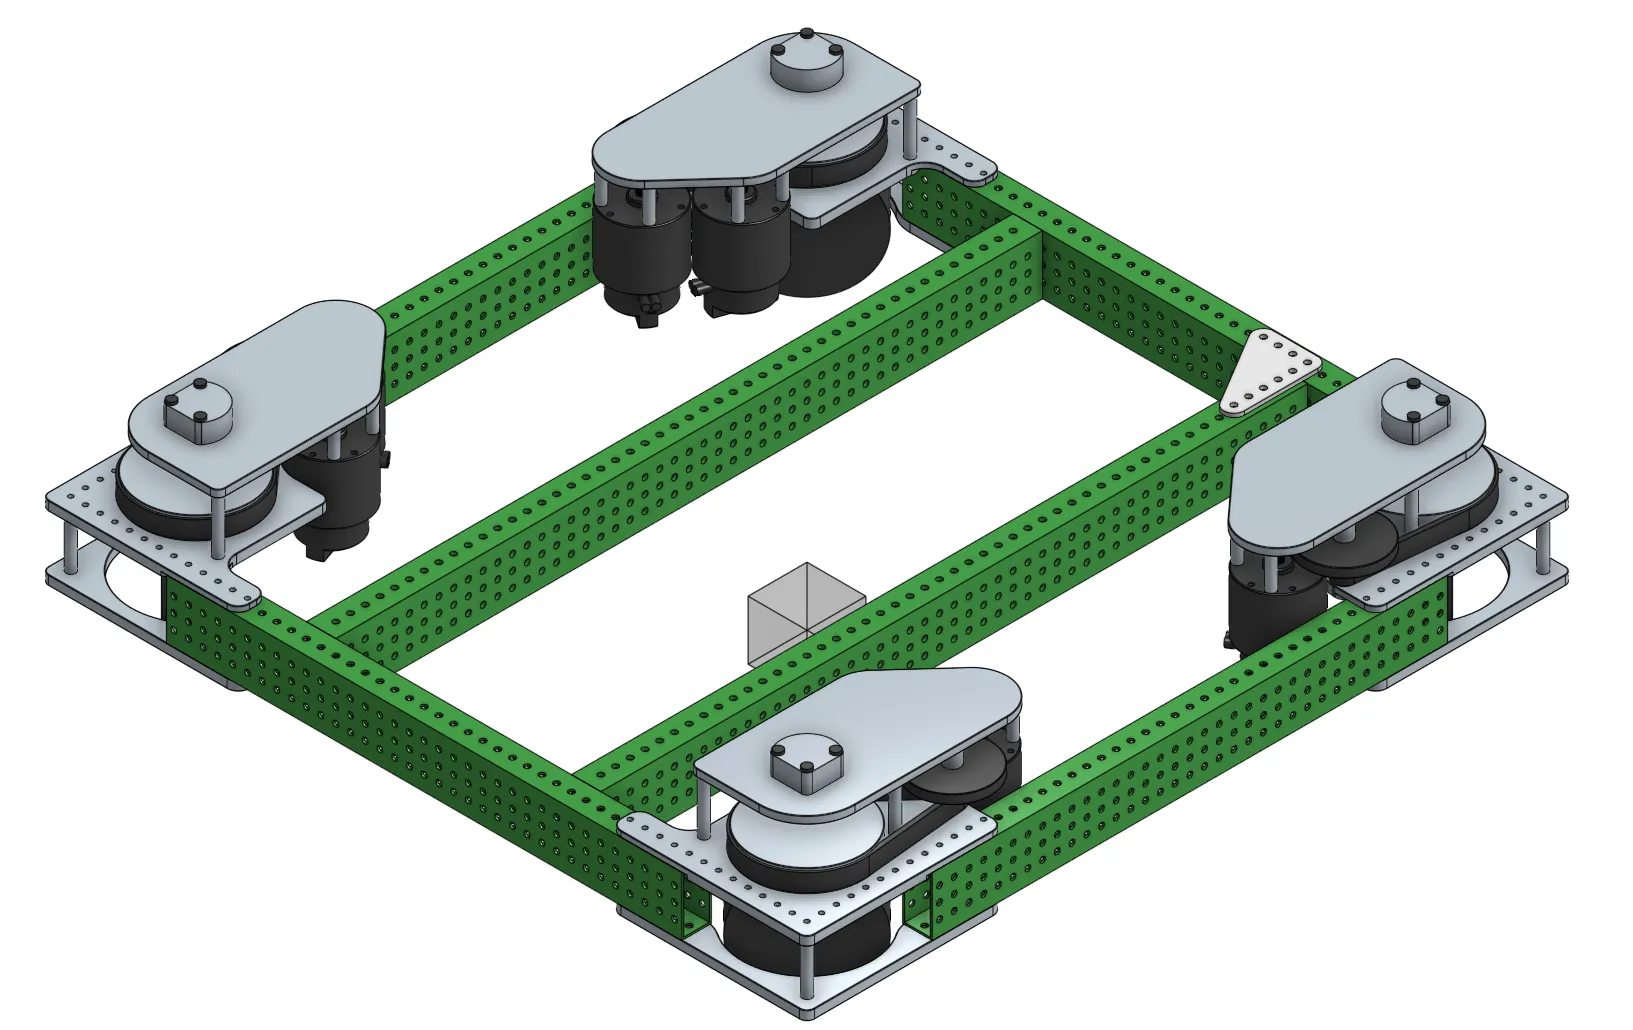
You will be adding extra cross rails to the drivetrain in the part studio. This will create extra structure for subsystems to attach to.
Use the extrude tool and tube converter to create cross rails for the drivetrain. Use what you learned in the previous exercise to try to figure it out. Good luck!
Think About This While You Work
Which extrude setting makes sure the cross rails end up in the right spot?
After the extrude is complete, turn the blocks into tubes using Tube Converter.
Tip
Use the same settings for Tube Converter as you did for the previous exercise.
Quick Part Studio Check
Your Part Studio should match what you'd build in real life. If it overlaps like this, how do you fix it?
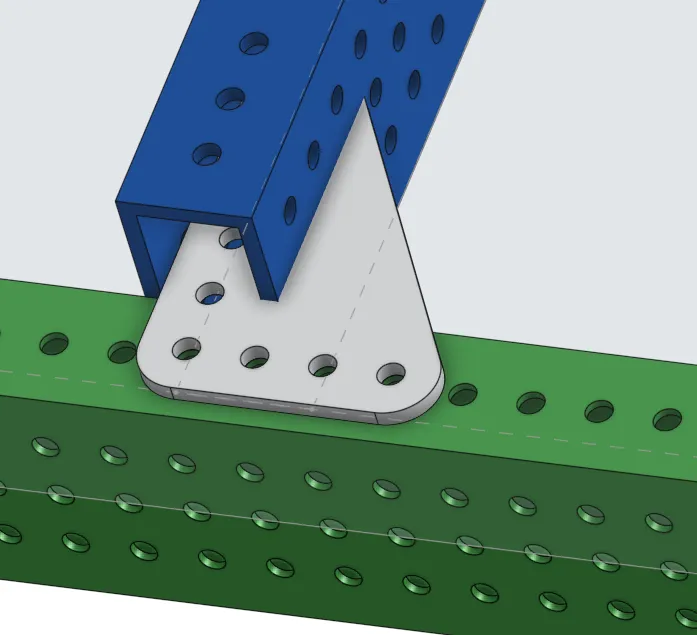
Always check that your CAD makes sense physically.
Make It Look Nicer
Once the two tubes are created, the appearance of the drivetrain tubes can be changed so it looks nicer. Watch the video, then change all of the tubes to a color of your choosing.
When you're done changing the appearance of the tubes, move on to the next exercise.