Skip to content

1A: Onshape Fundamentals

Exercise #4: Climber Hook

As you get more comfortable with modeling, we can begin to create more complex parts. For this exercise, you will create a climber hook and tube. Then, you will create the assembly and mate together the components.

You will utilize the Spacer Featurescript for this exercise.

Instructions

Navigate to the "Exercise #4 Climber Hook" part studio tab in your copied document and follow the instructions in the slides to complete the exercise.

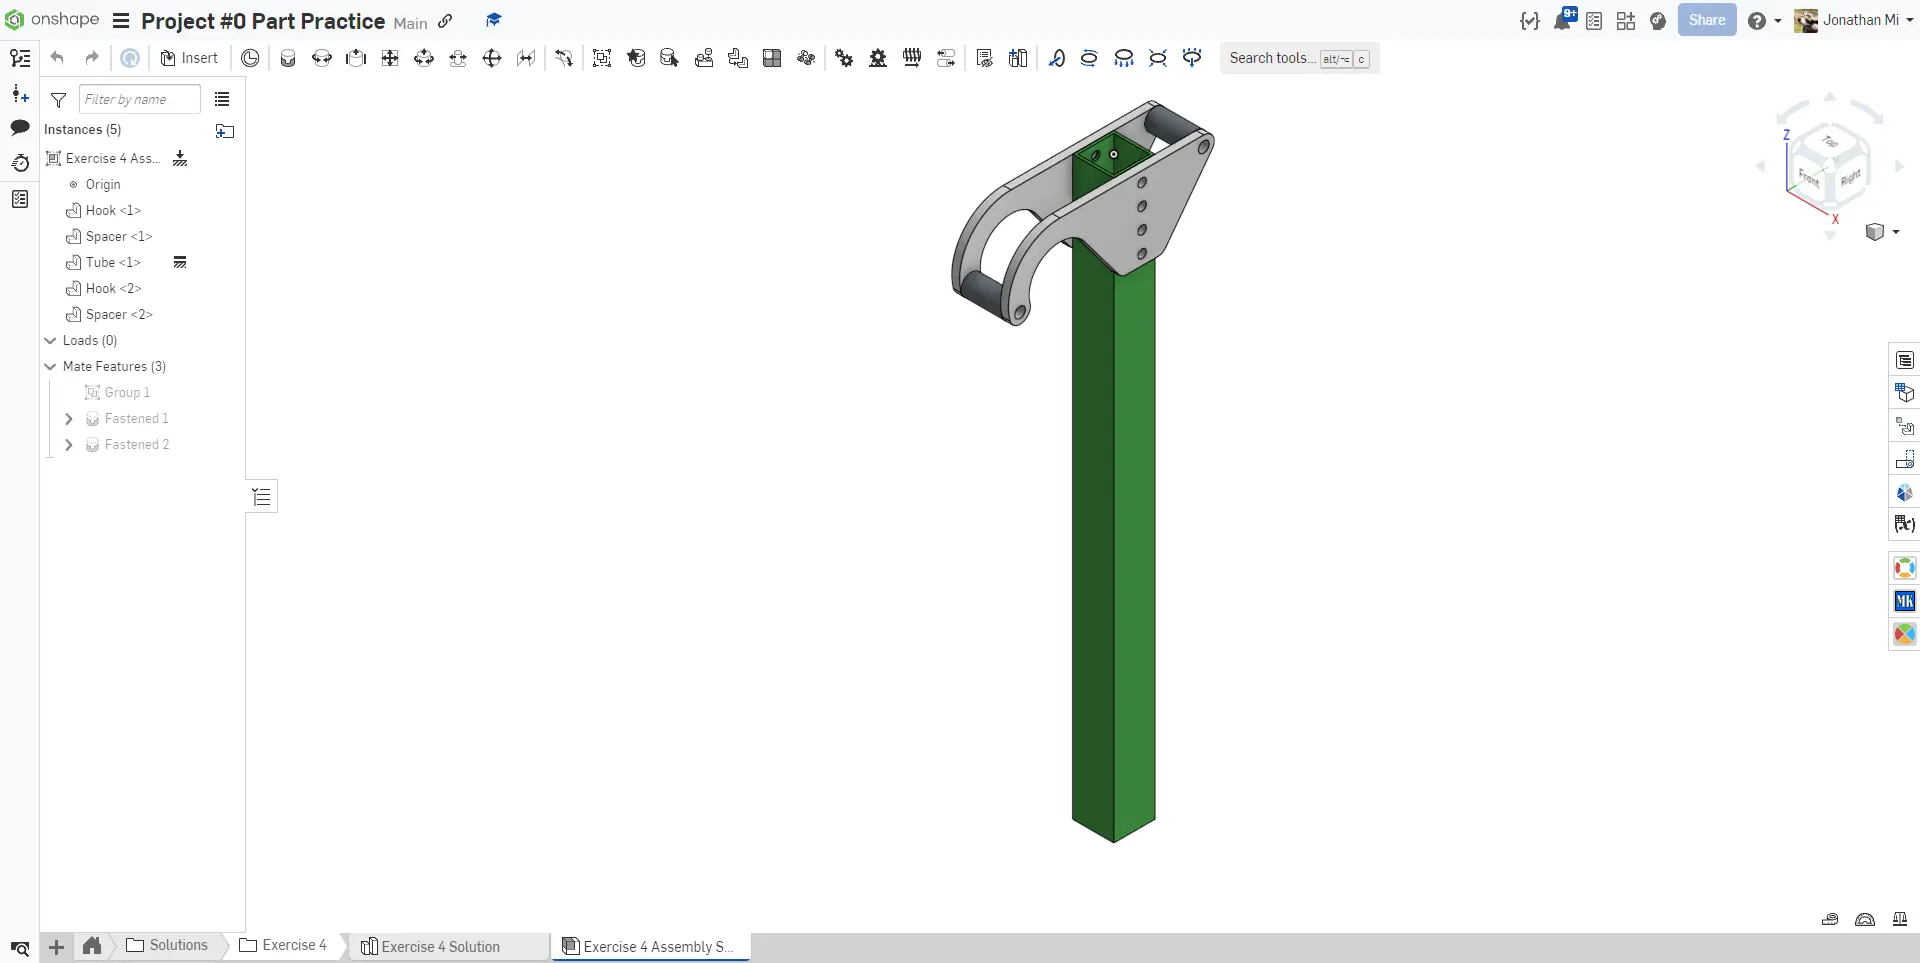
0. Final assembly.
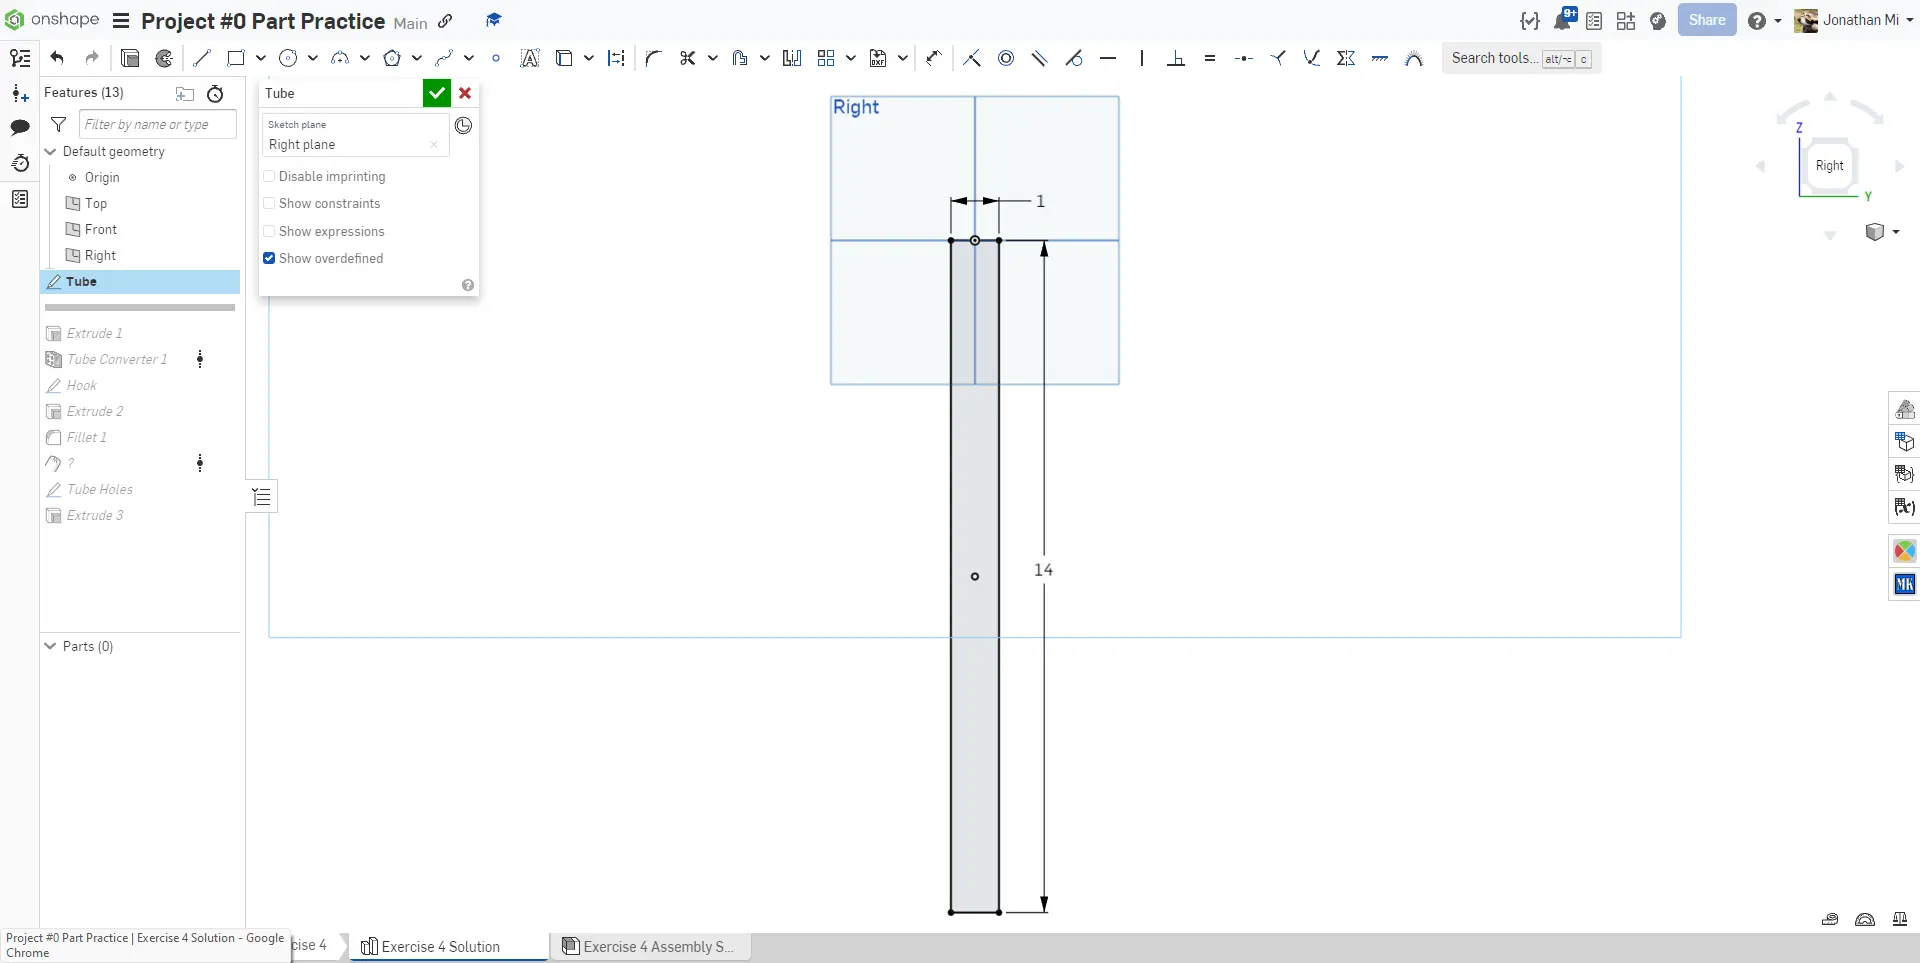
1. Start by sketching the tube on the right plane.
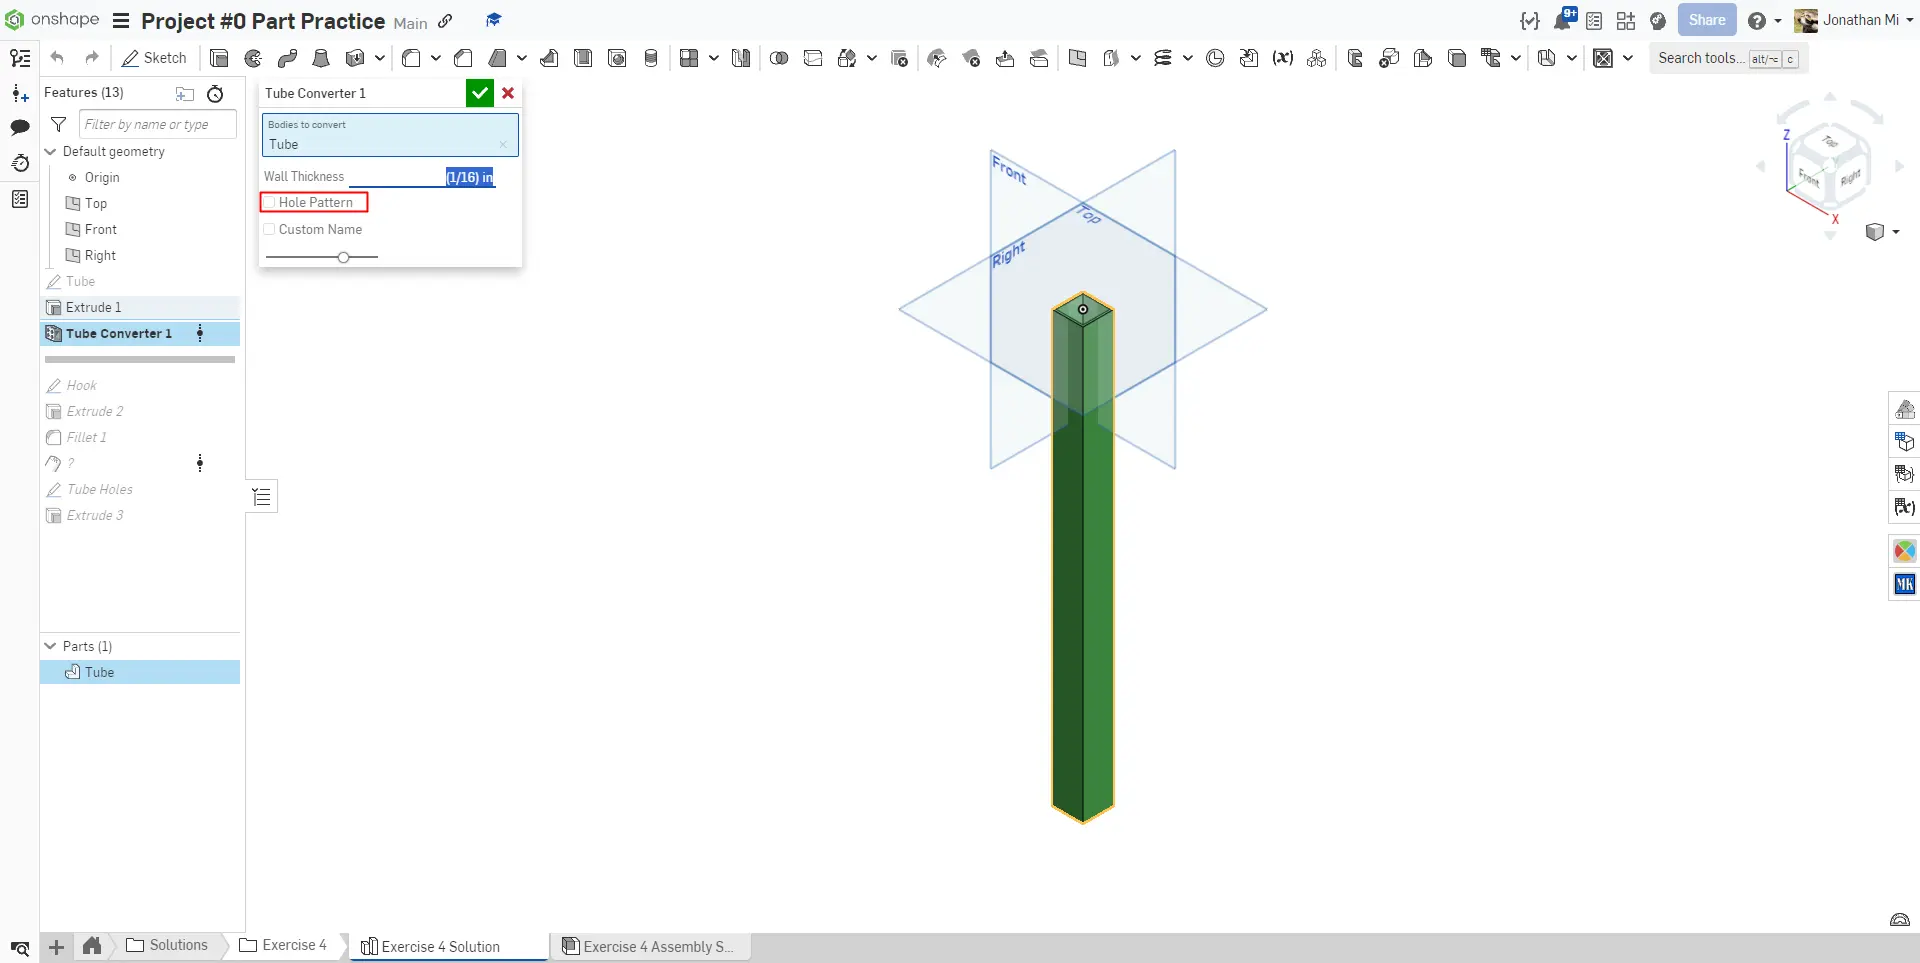
2. Use the Tube Featurescript to create a thin-wall 1"x1" tube with no holes.
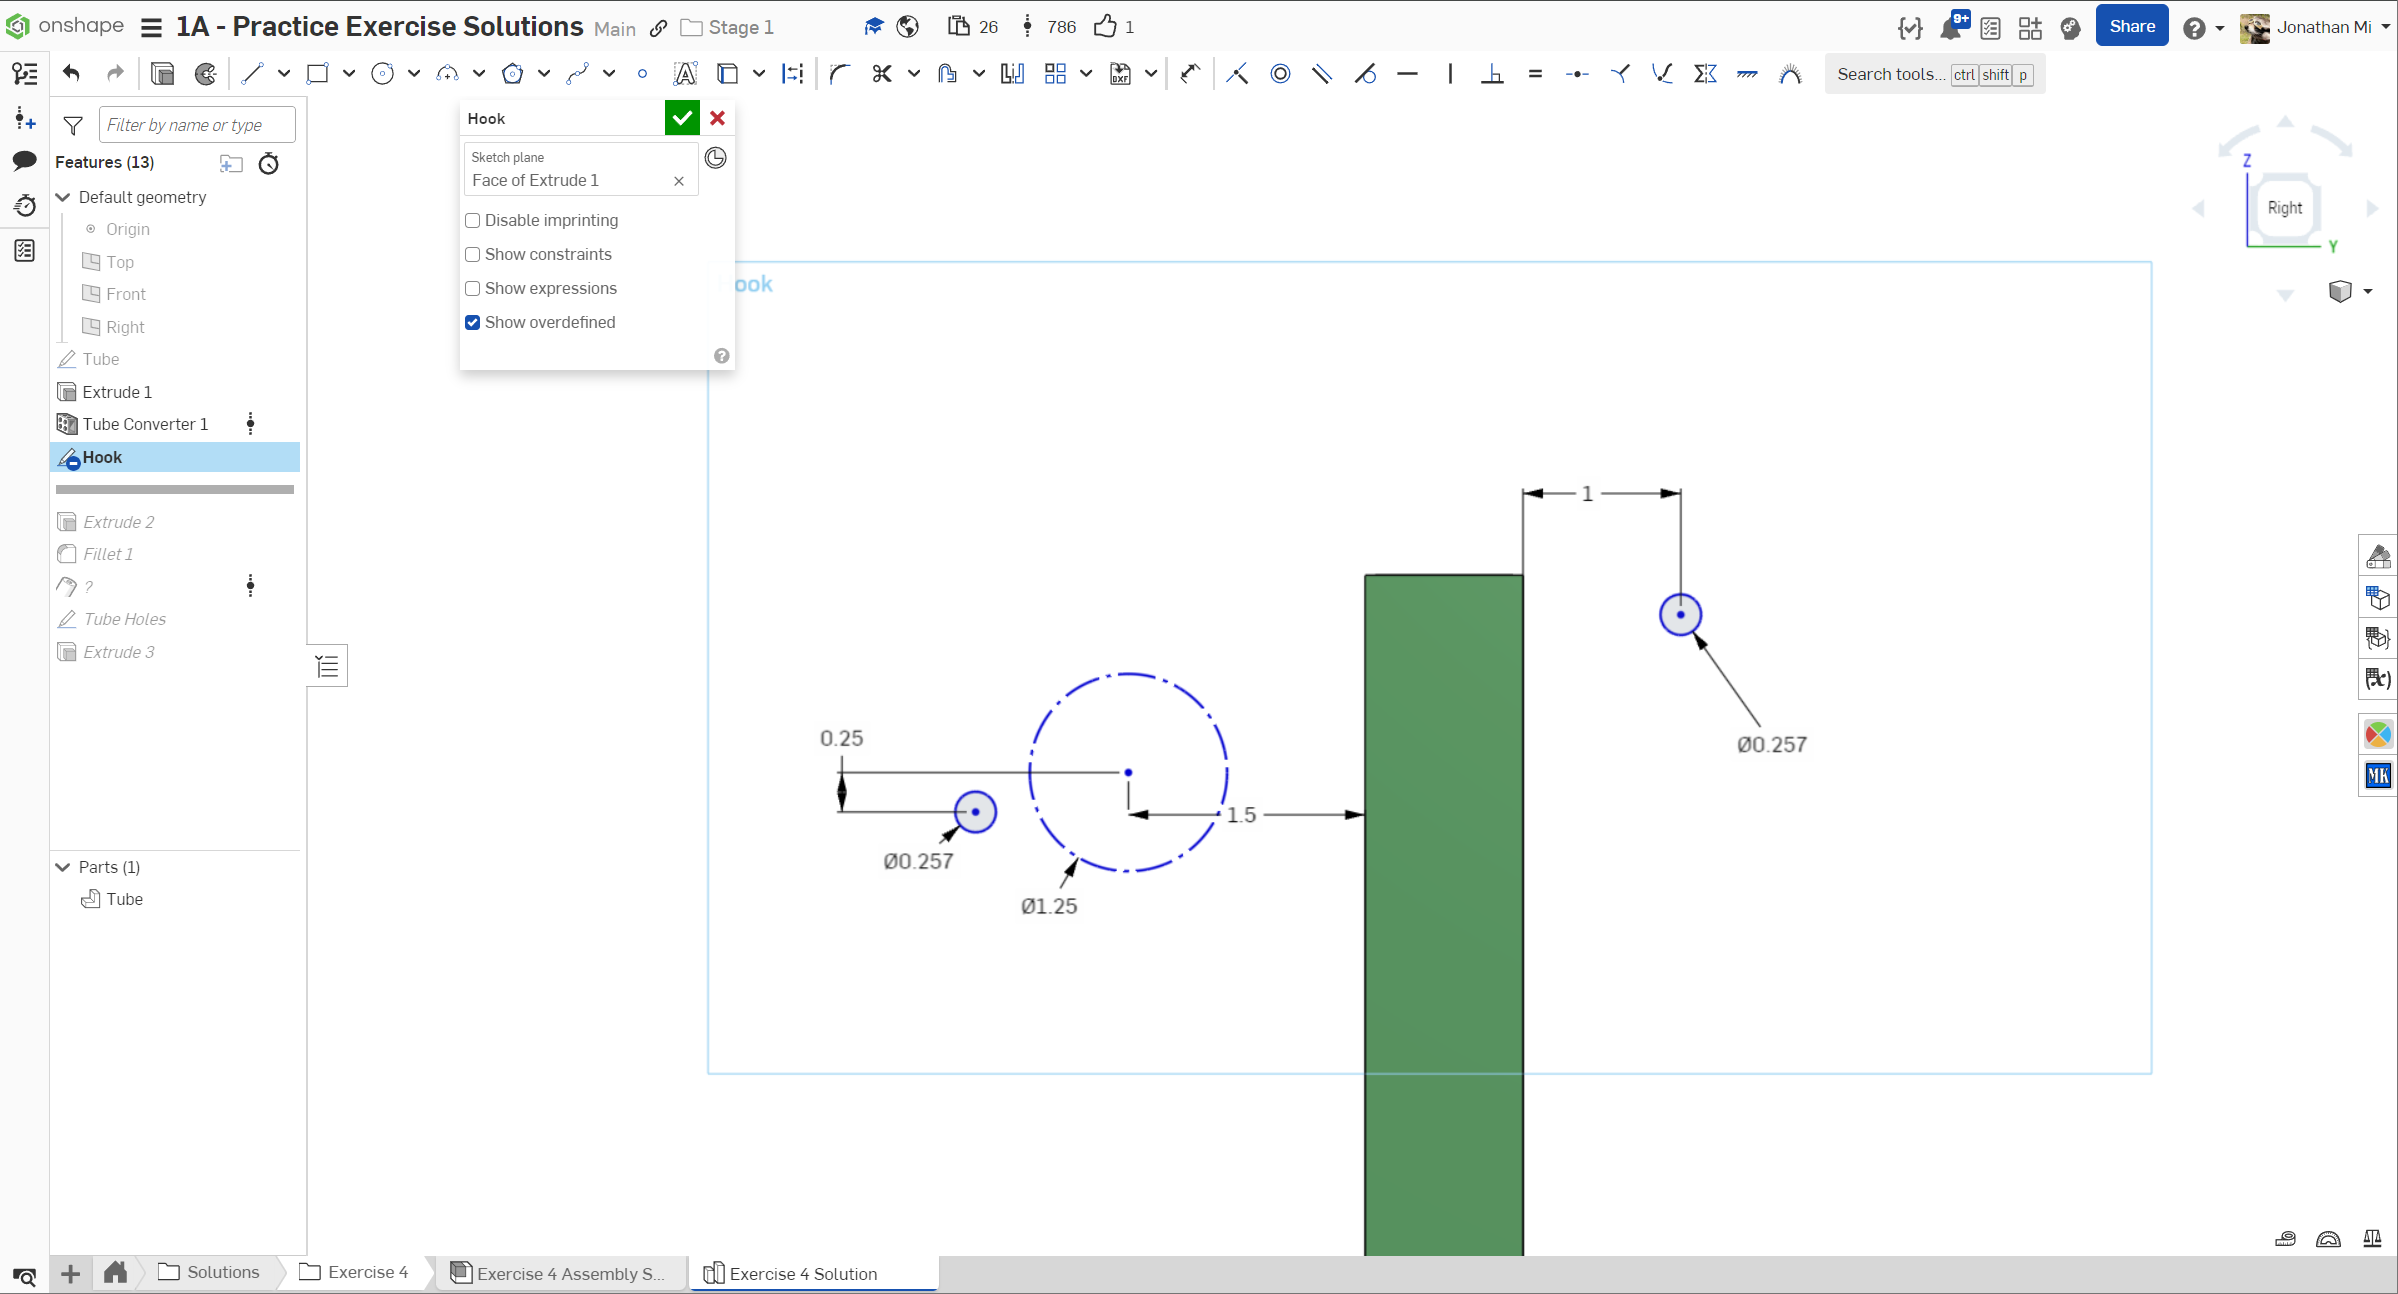
3a. Start the climber hook sketch by drawing the construction geometry circle that represents the bar on which the hook will grab onto. The hole on the far right would be to attach a rope to pull the hook with.
3b. Draw the outline of the hook. Pay attention to the sketch constraints used. To avoid adding unintended sketch relations, you can hold down the shift key while sketching to disable inferred sketch constraints.
4. Use the Linear Pattern sketch tool to pattern the mounting holes.
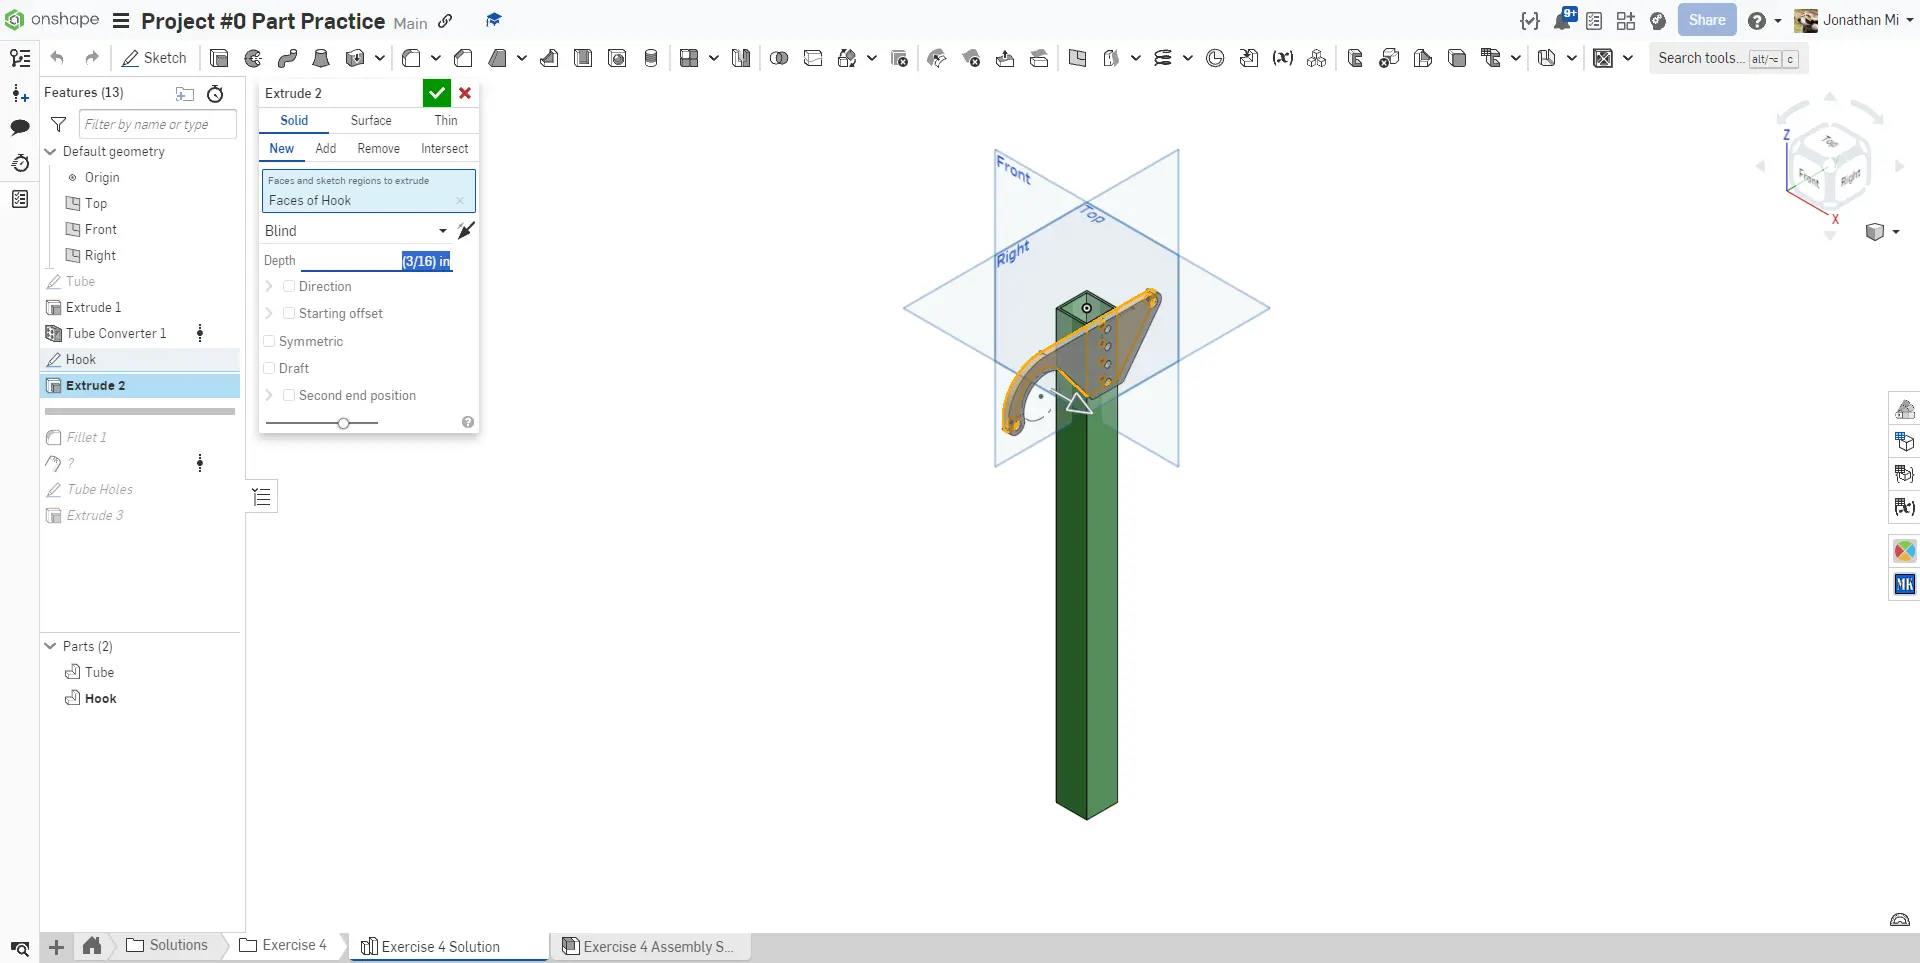
5. Make the hook 3/16" thick. Select New as the extrude type to make the extrude a new part.
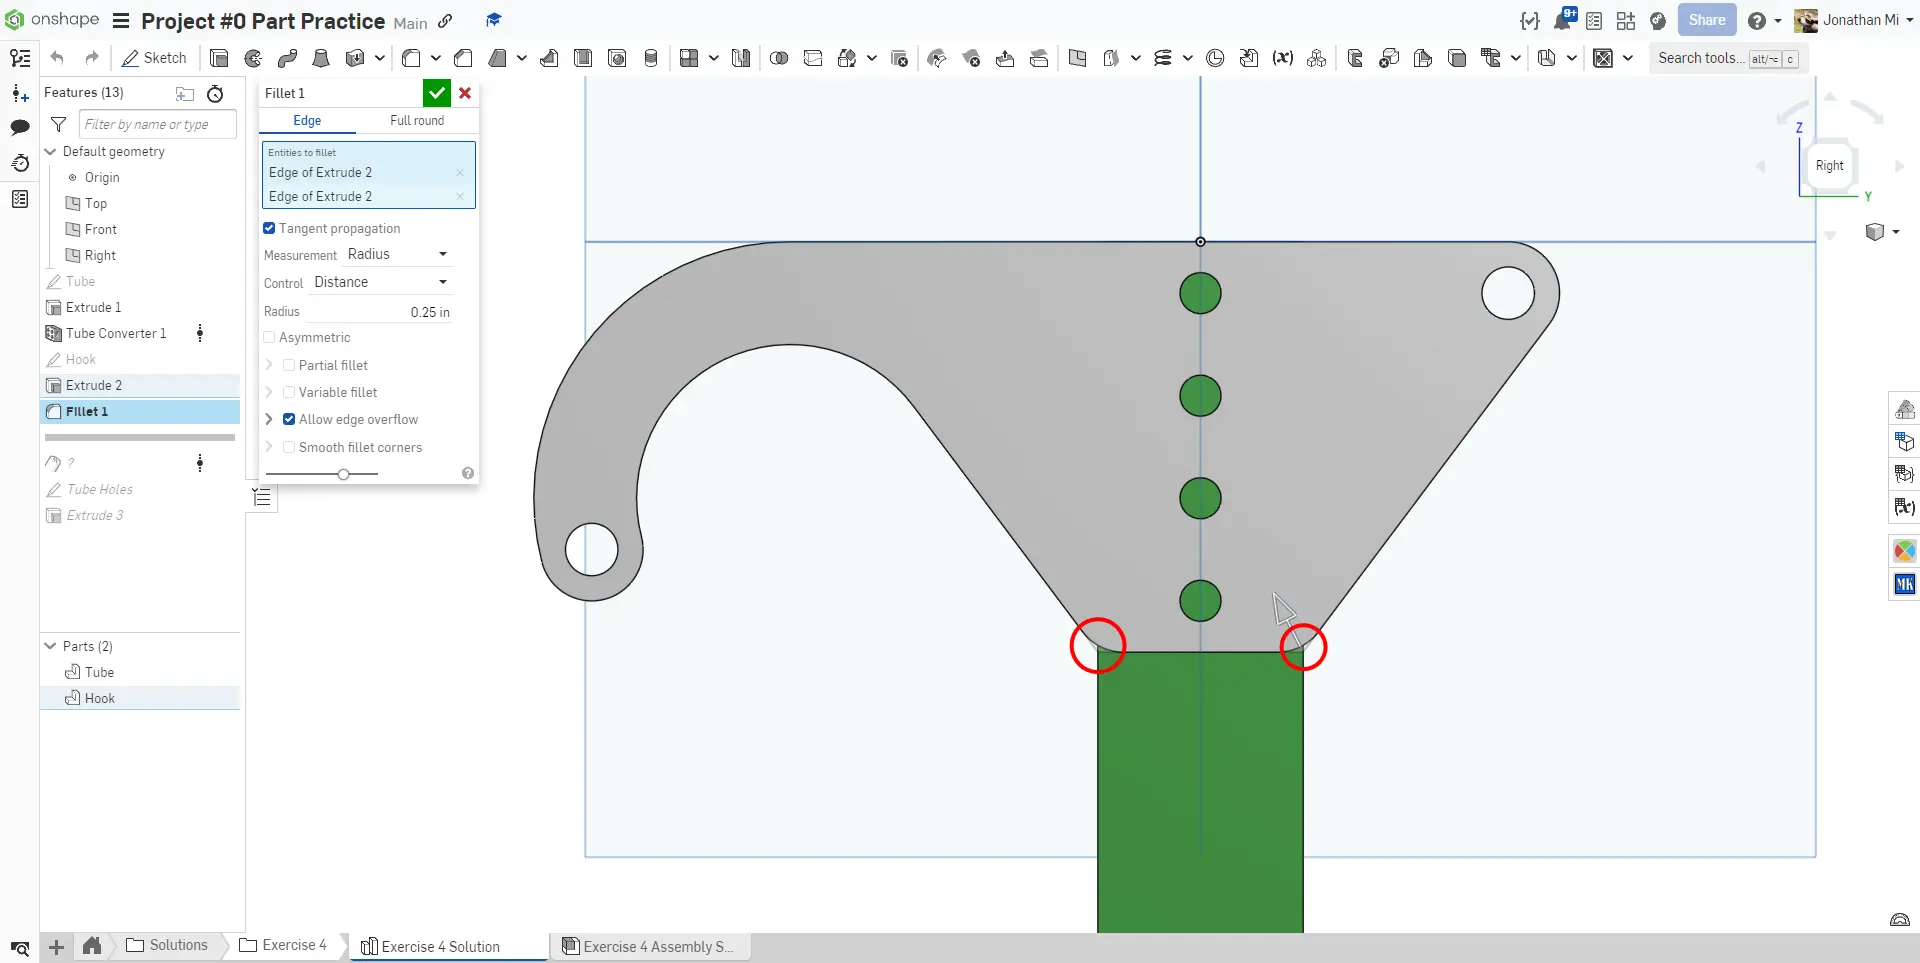
6. Fillet the bottom two corners with a 0.25" radius.
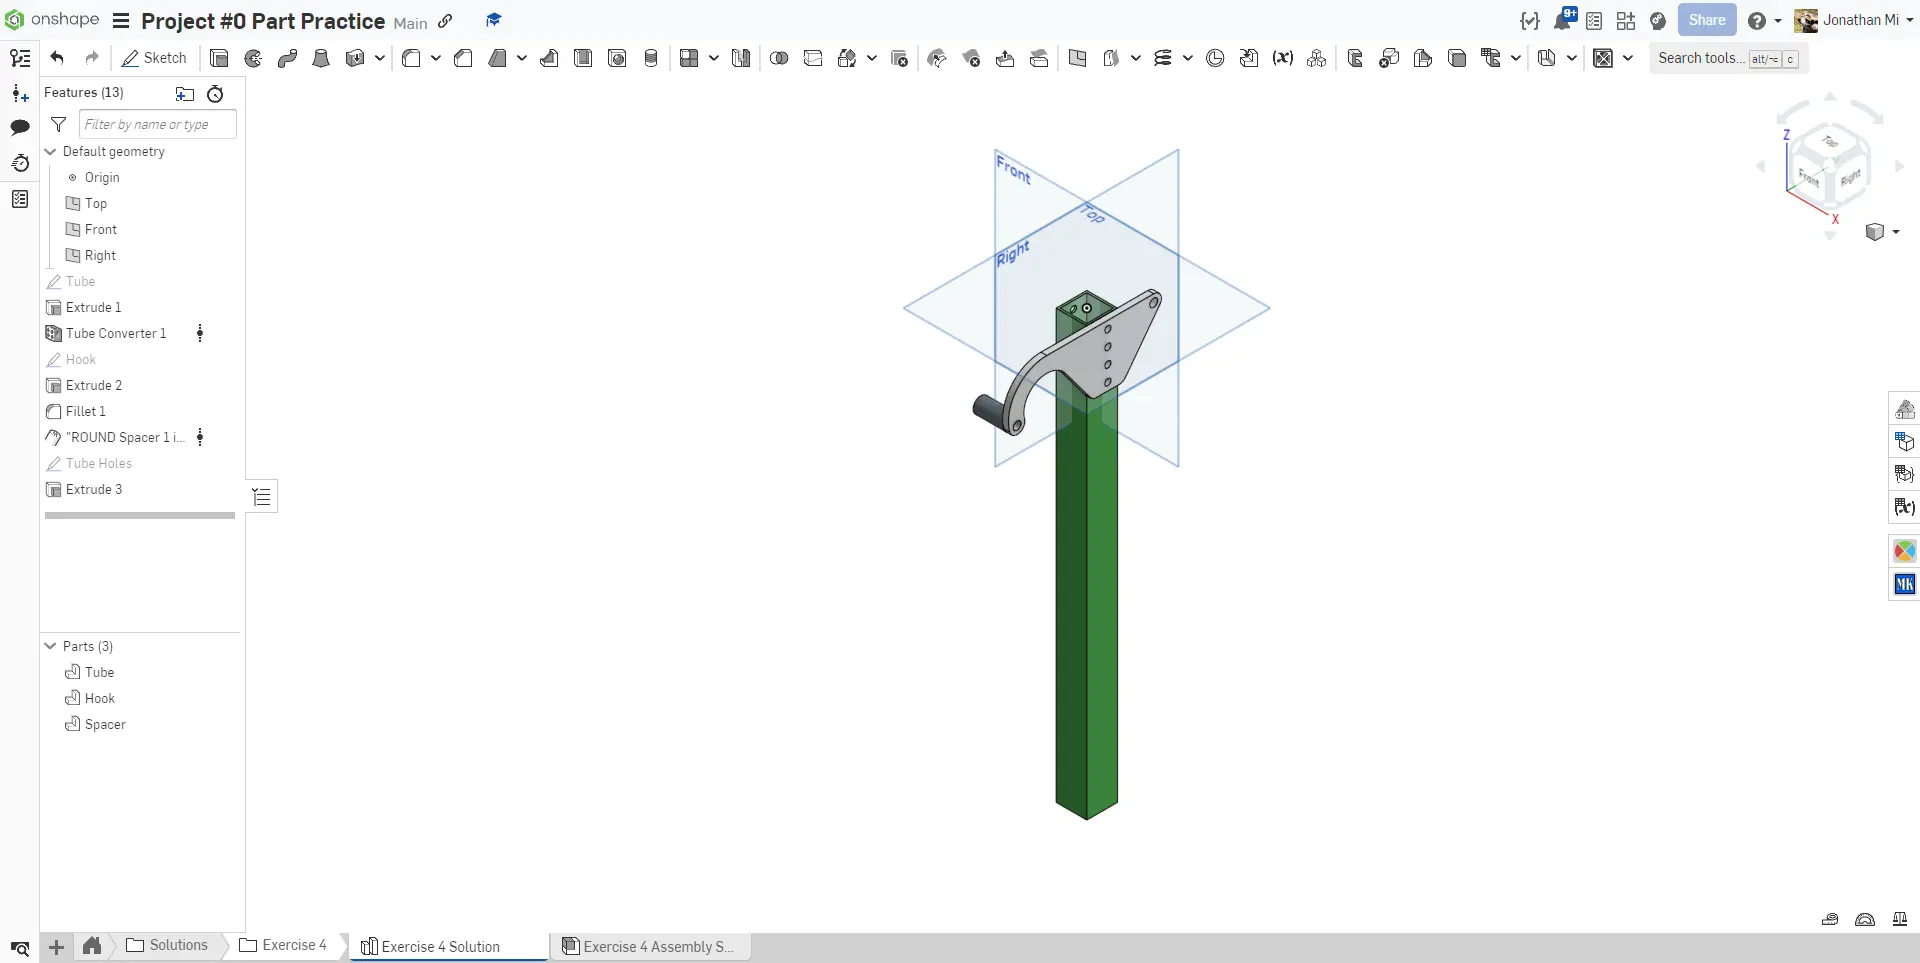
7. Use the Spacer Featurescript to add a 0.5" diameter spacer. Use the `Up to Face` end condition to make the spacer match the tube width.
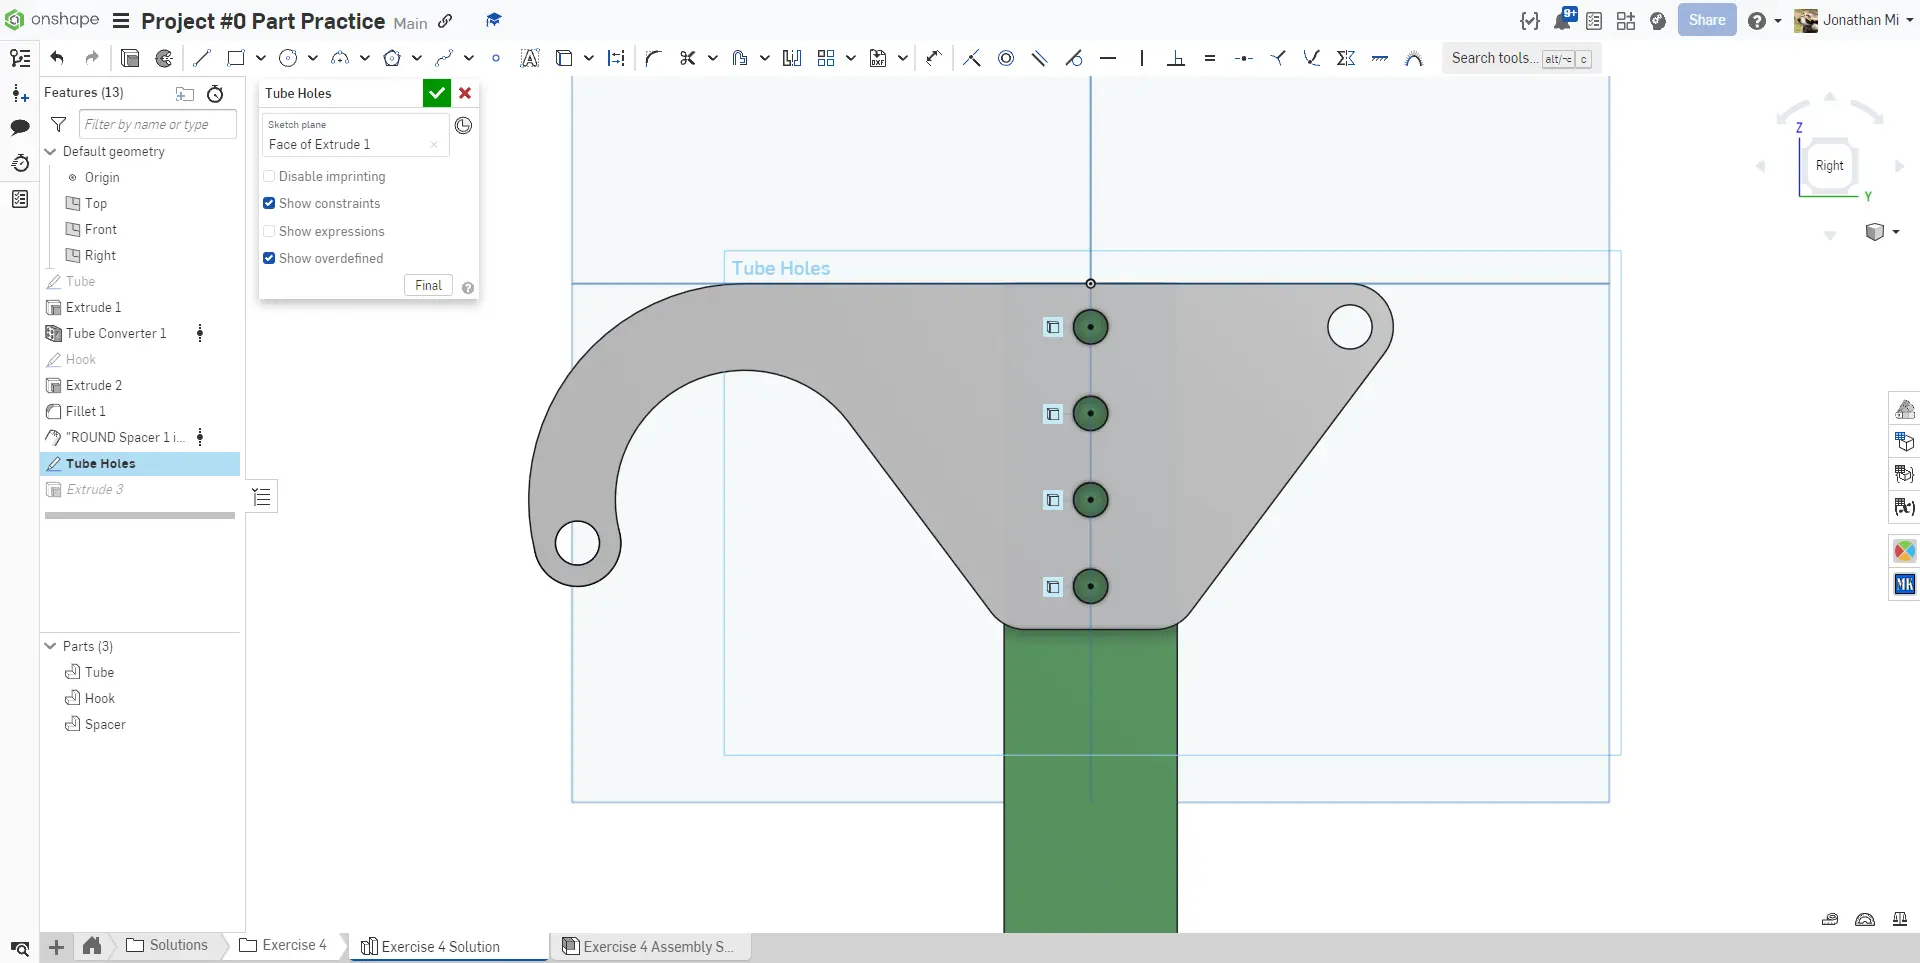
8. Use the Use sketch tool to add the mounting holes to the tube.
9. Name the key sketches and parts. Set the material of the hook and spacer to 6061 Aluminum.
10. Finished assembly.

Verification

If all is done correctly your assembly should have 5 Instances, and weigh approximately 0.56lbs.

In this exercise, you practiced more advanced sketching and were introduced to the Spacer Featurescript.